User Guide
How to Use FreshKeep
Home Page
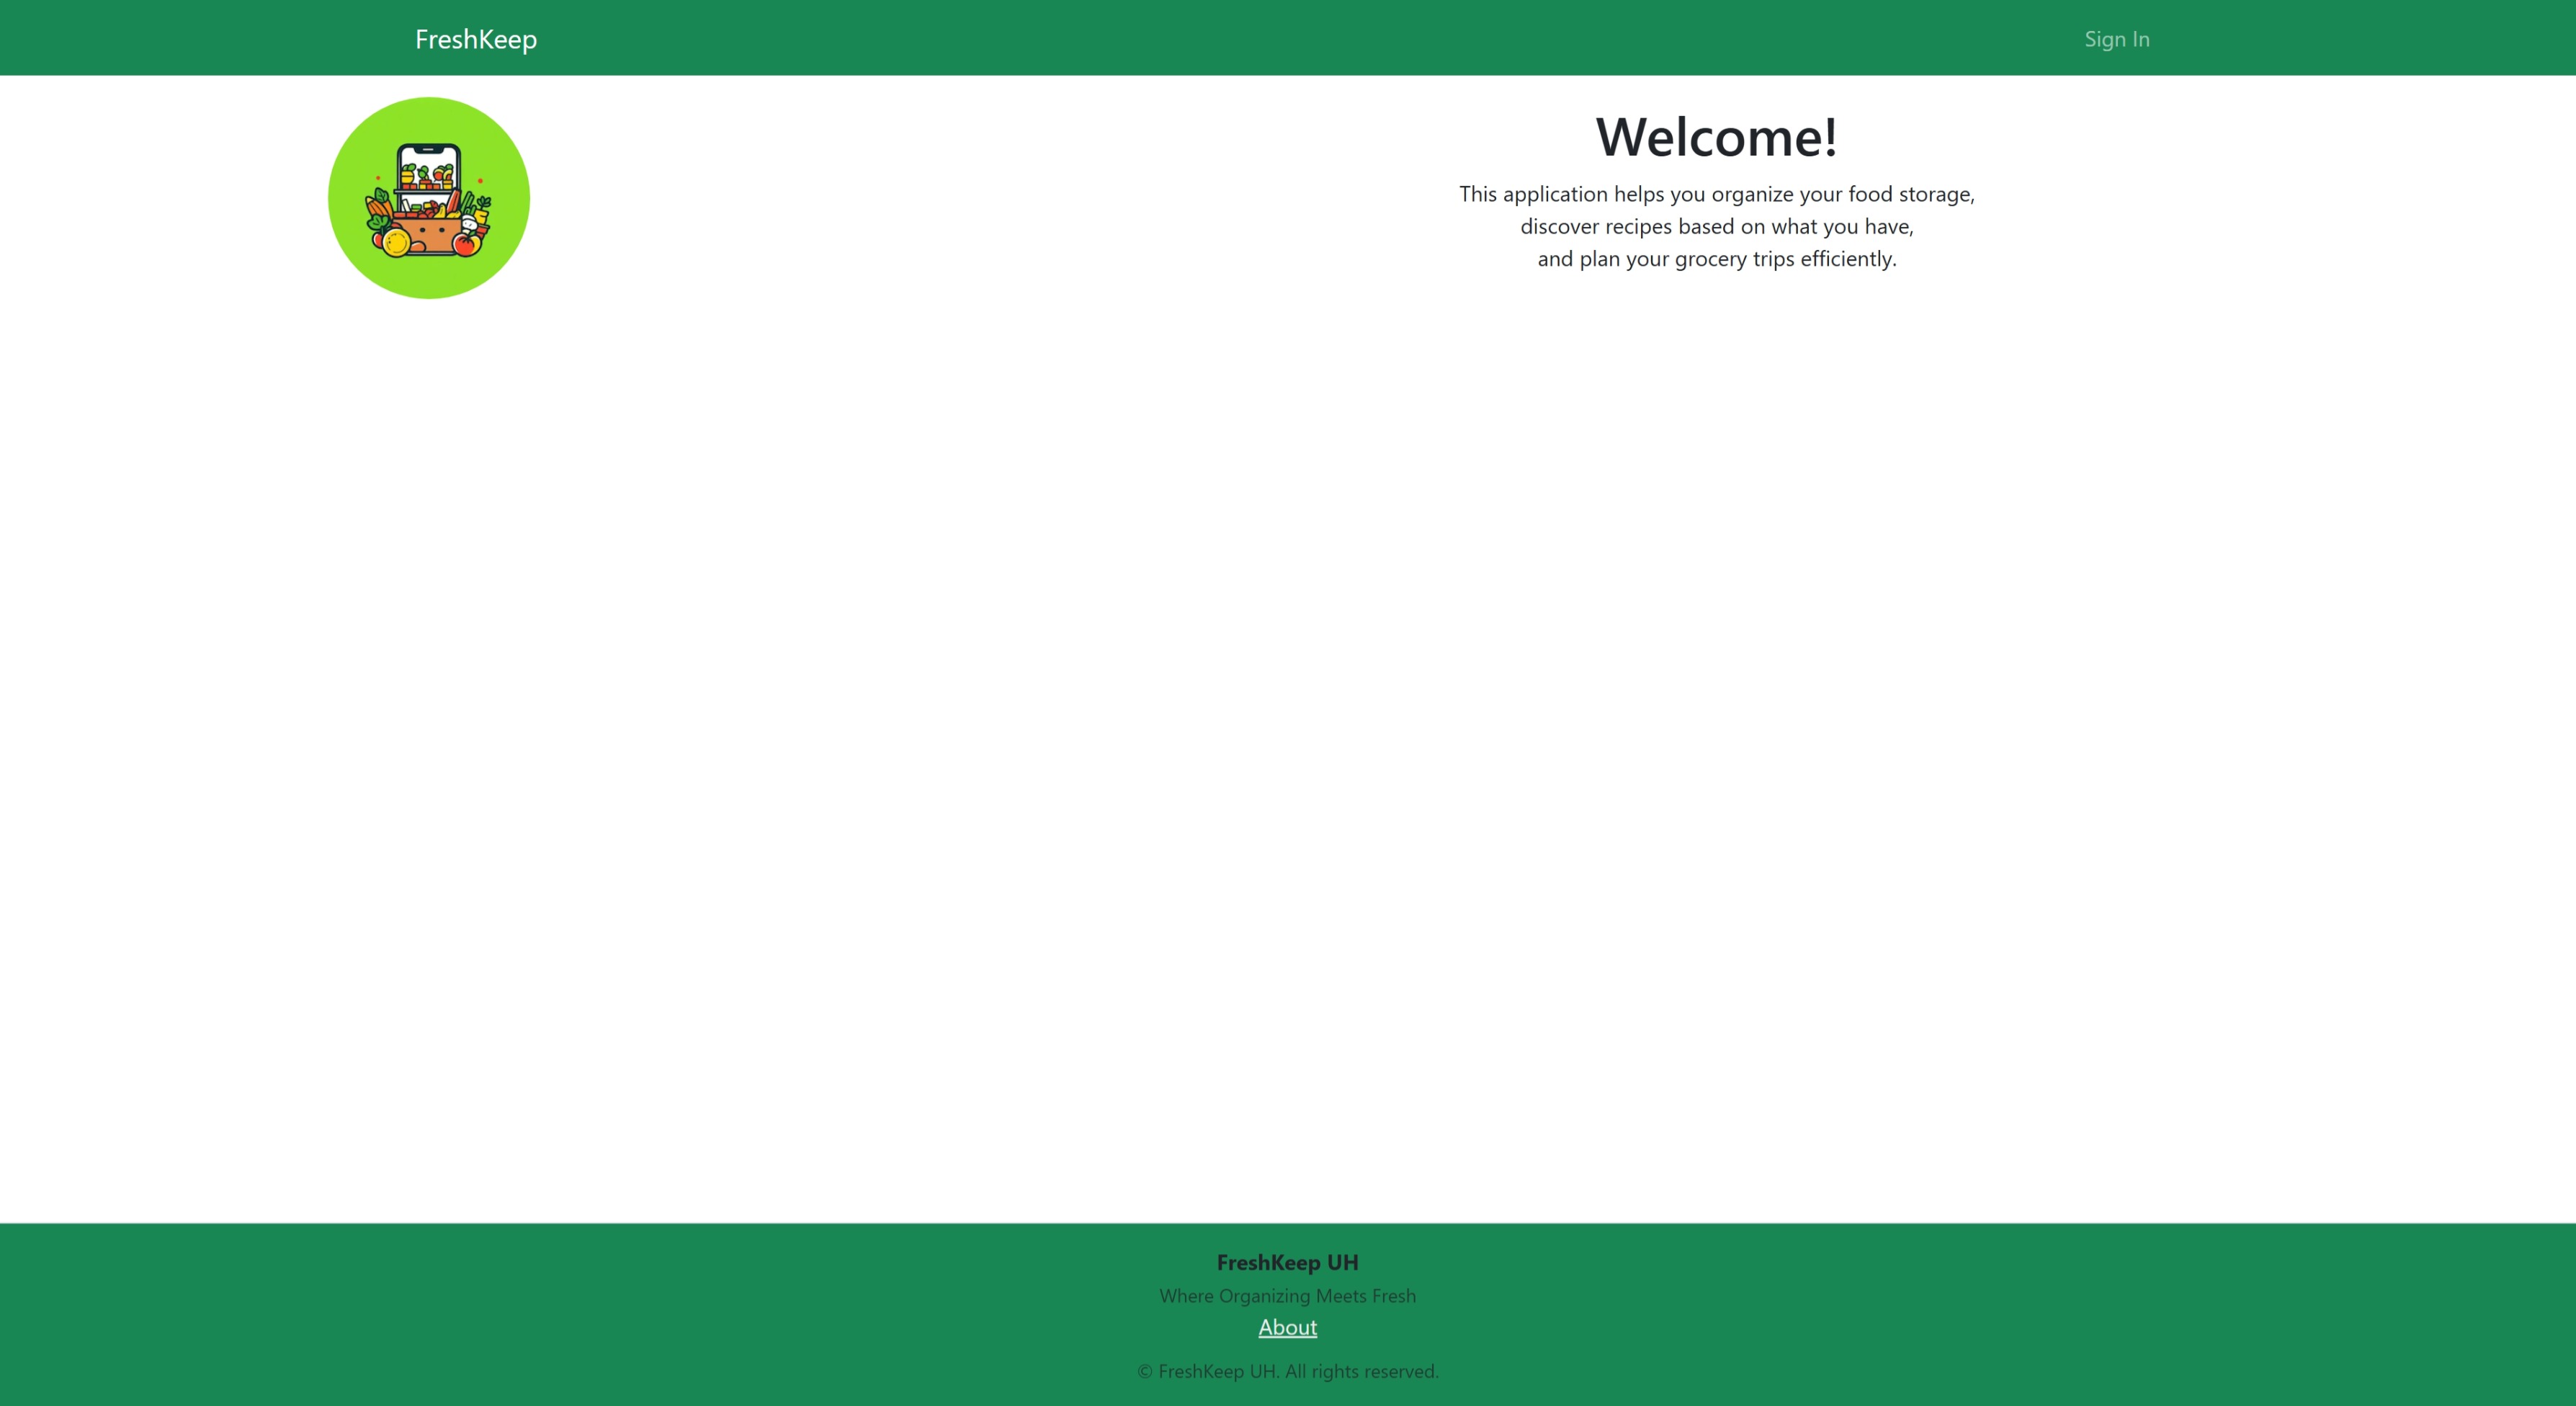 The Home page is your landing page.
Links
- Sign In: Go to the Sign In page.
Sign In
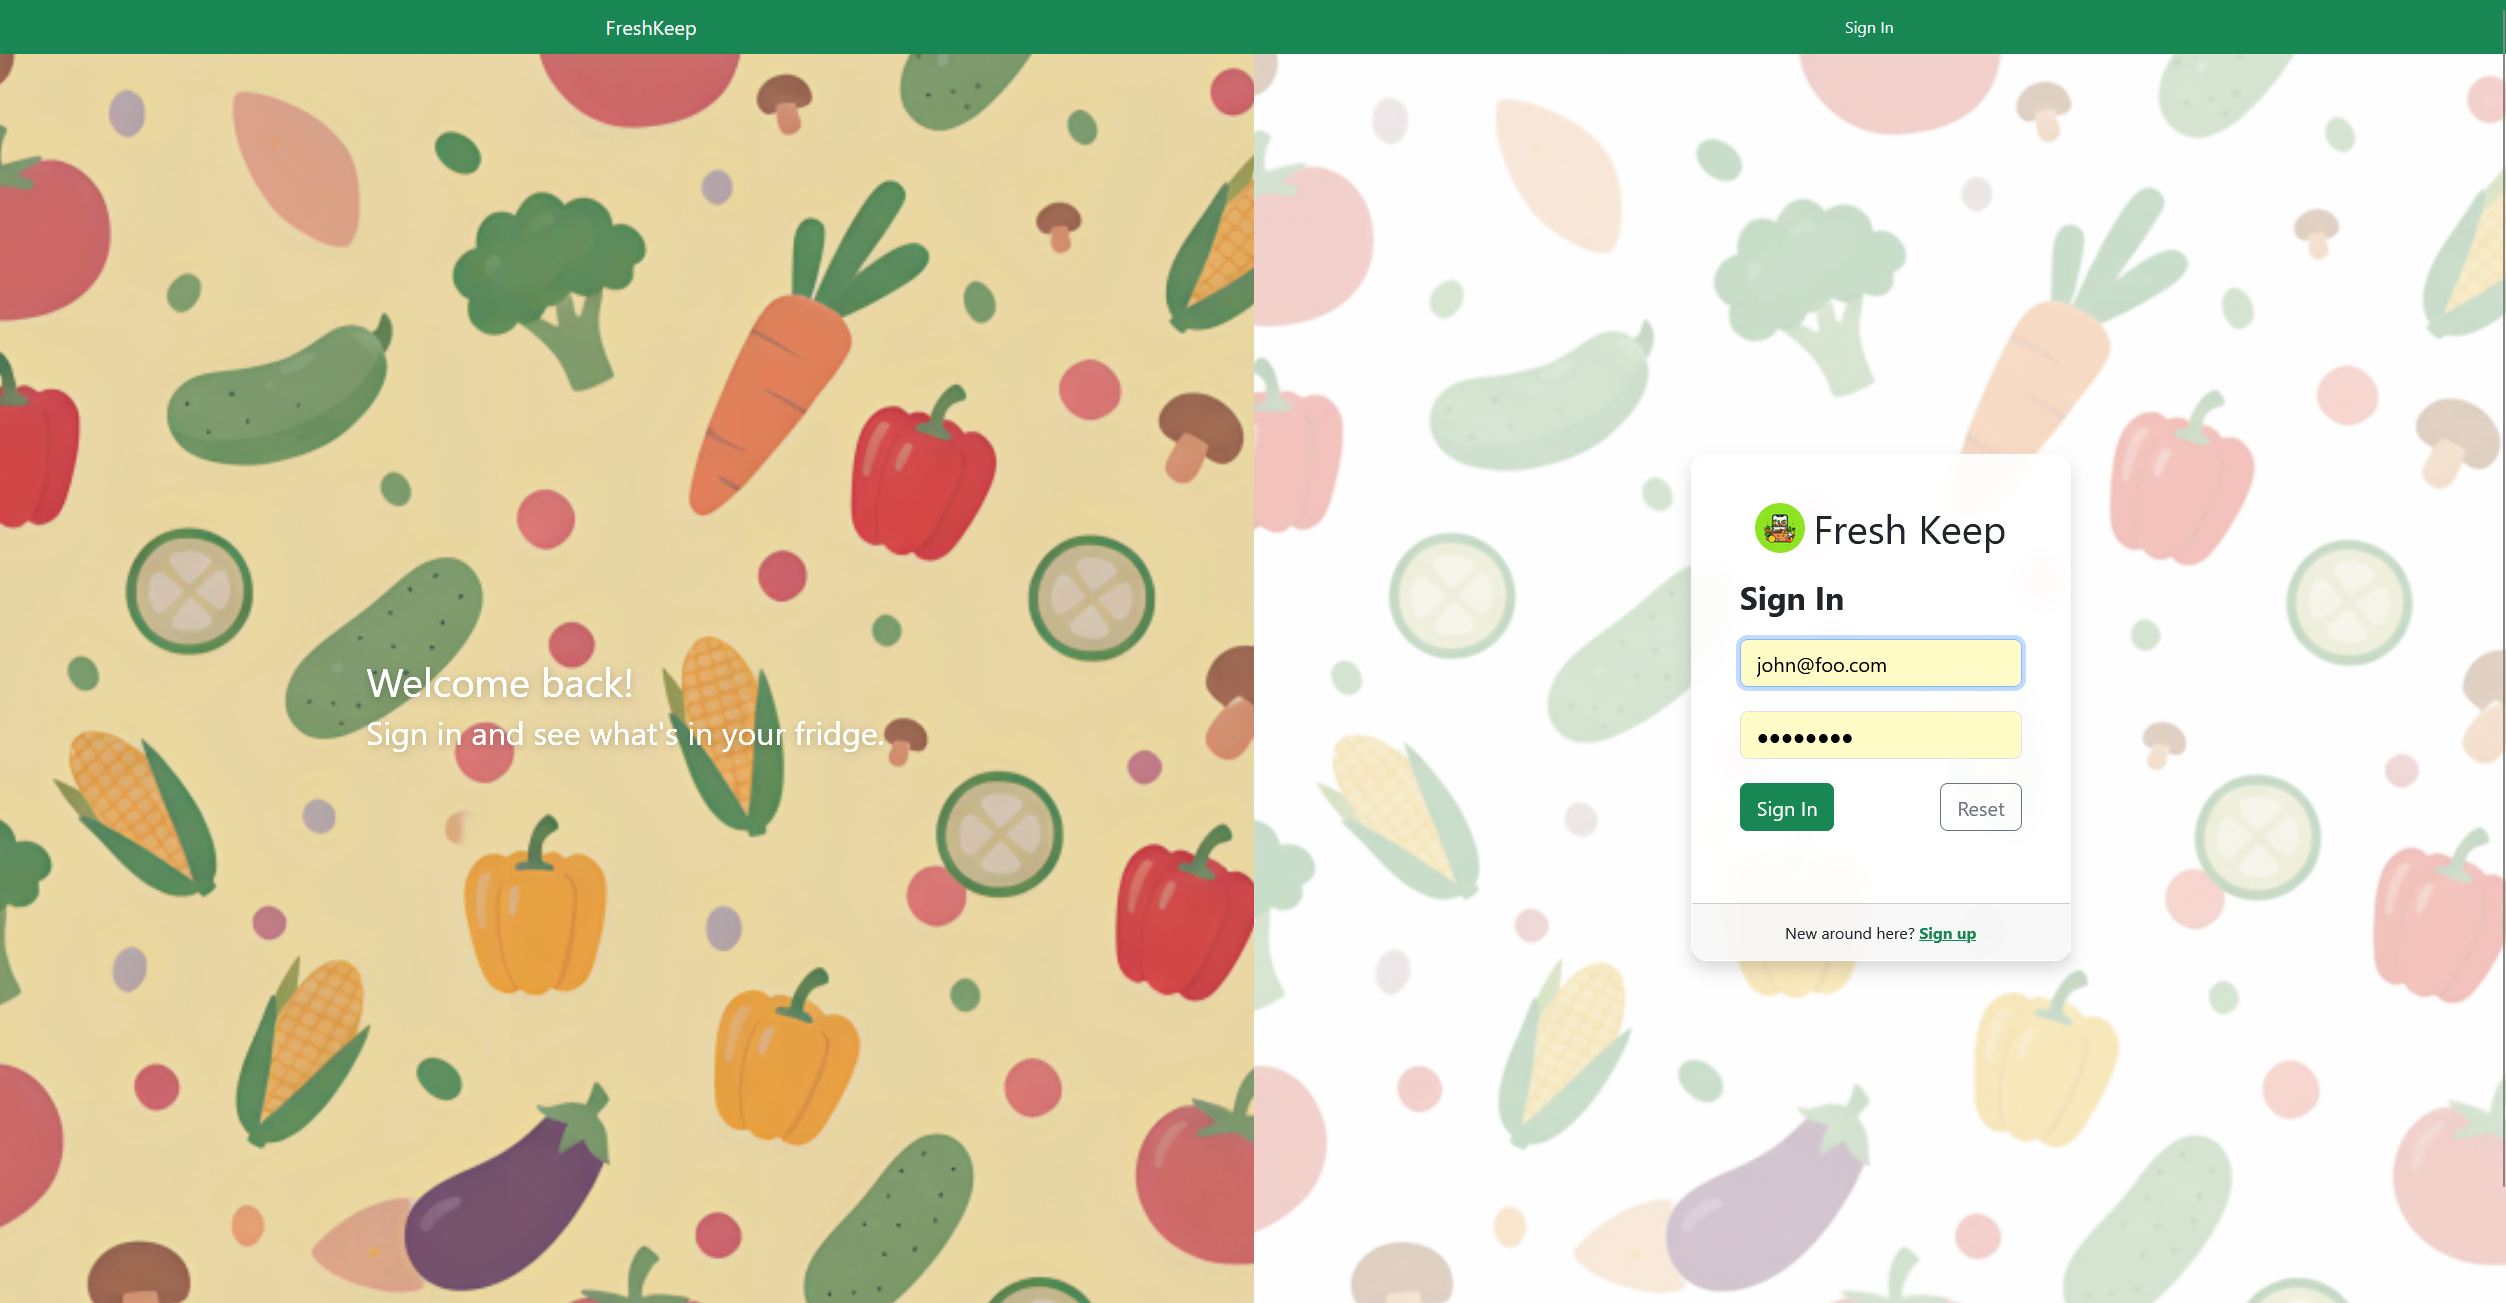 The Sign In page is where you enter your credentials to access the FreshKeep application.
Use your registered email address and password. If you do not have an account, use the 'Sign Up' link.
The Sign In page is where you enter your credentials to access the FreshKeep application.
Use your registered email address and password. If you do not have an account, use the 'Sign Up' link.
Fields
- Email: Enter your registered email address.
- Password: Enter your password.
- Remember Me: Check this to have the site remember your email address.
Buttons
- Sign In: Sign In to FreshKeep.
- Reset: Clear the form.
Links
- Forgot Password: Go to the Forgot Password page.
- Sign Up: Go to the Sign Up page.
Sign Up
 The Sign Up page is where you can create credentials to access the FreshKeep application.
Use your primary email address. You will need to type a password longer than 6 characters and less than 20.
You will need to confirm your password. If your email address is not already registered, your account will be created
and you will be signed in.
If your email address is already registered, you can use the 'Sign In' link.
The Sign Up page is where you can create credentials to access the FreshKeep application.
Use your primary email address. You will need to type a password longer than 6 characters and less than 20.
You will need to confirm your password. If your email address is not already registered, your account will be created
and you will be signed in.
If your email address is already registered, you can use the 'Sign In' link.
Fields
- Email: Enter your email address.
- Password: Enter your password.
- Confirm Password: Enter your password again.
Buttons
- Sign Up: Sign Up for FreshKeep.
- Reset: Clear the form.
Links
- Sign In: Go to the Sign In page.
Change Password
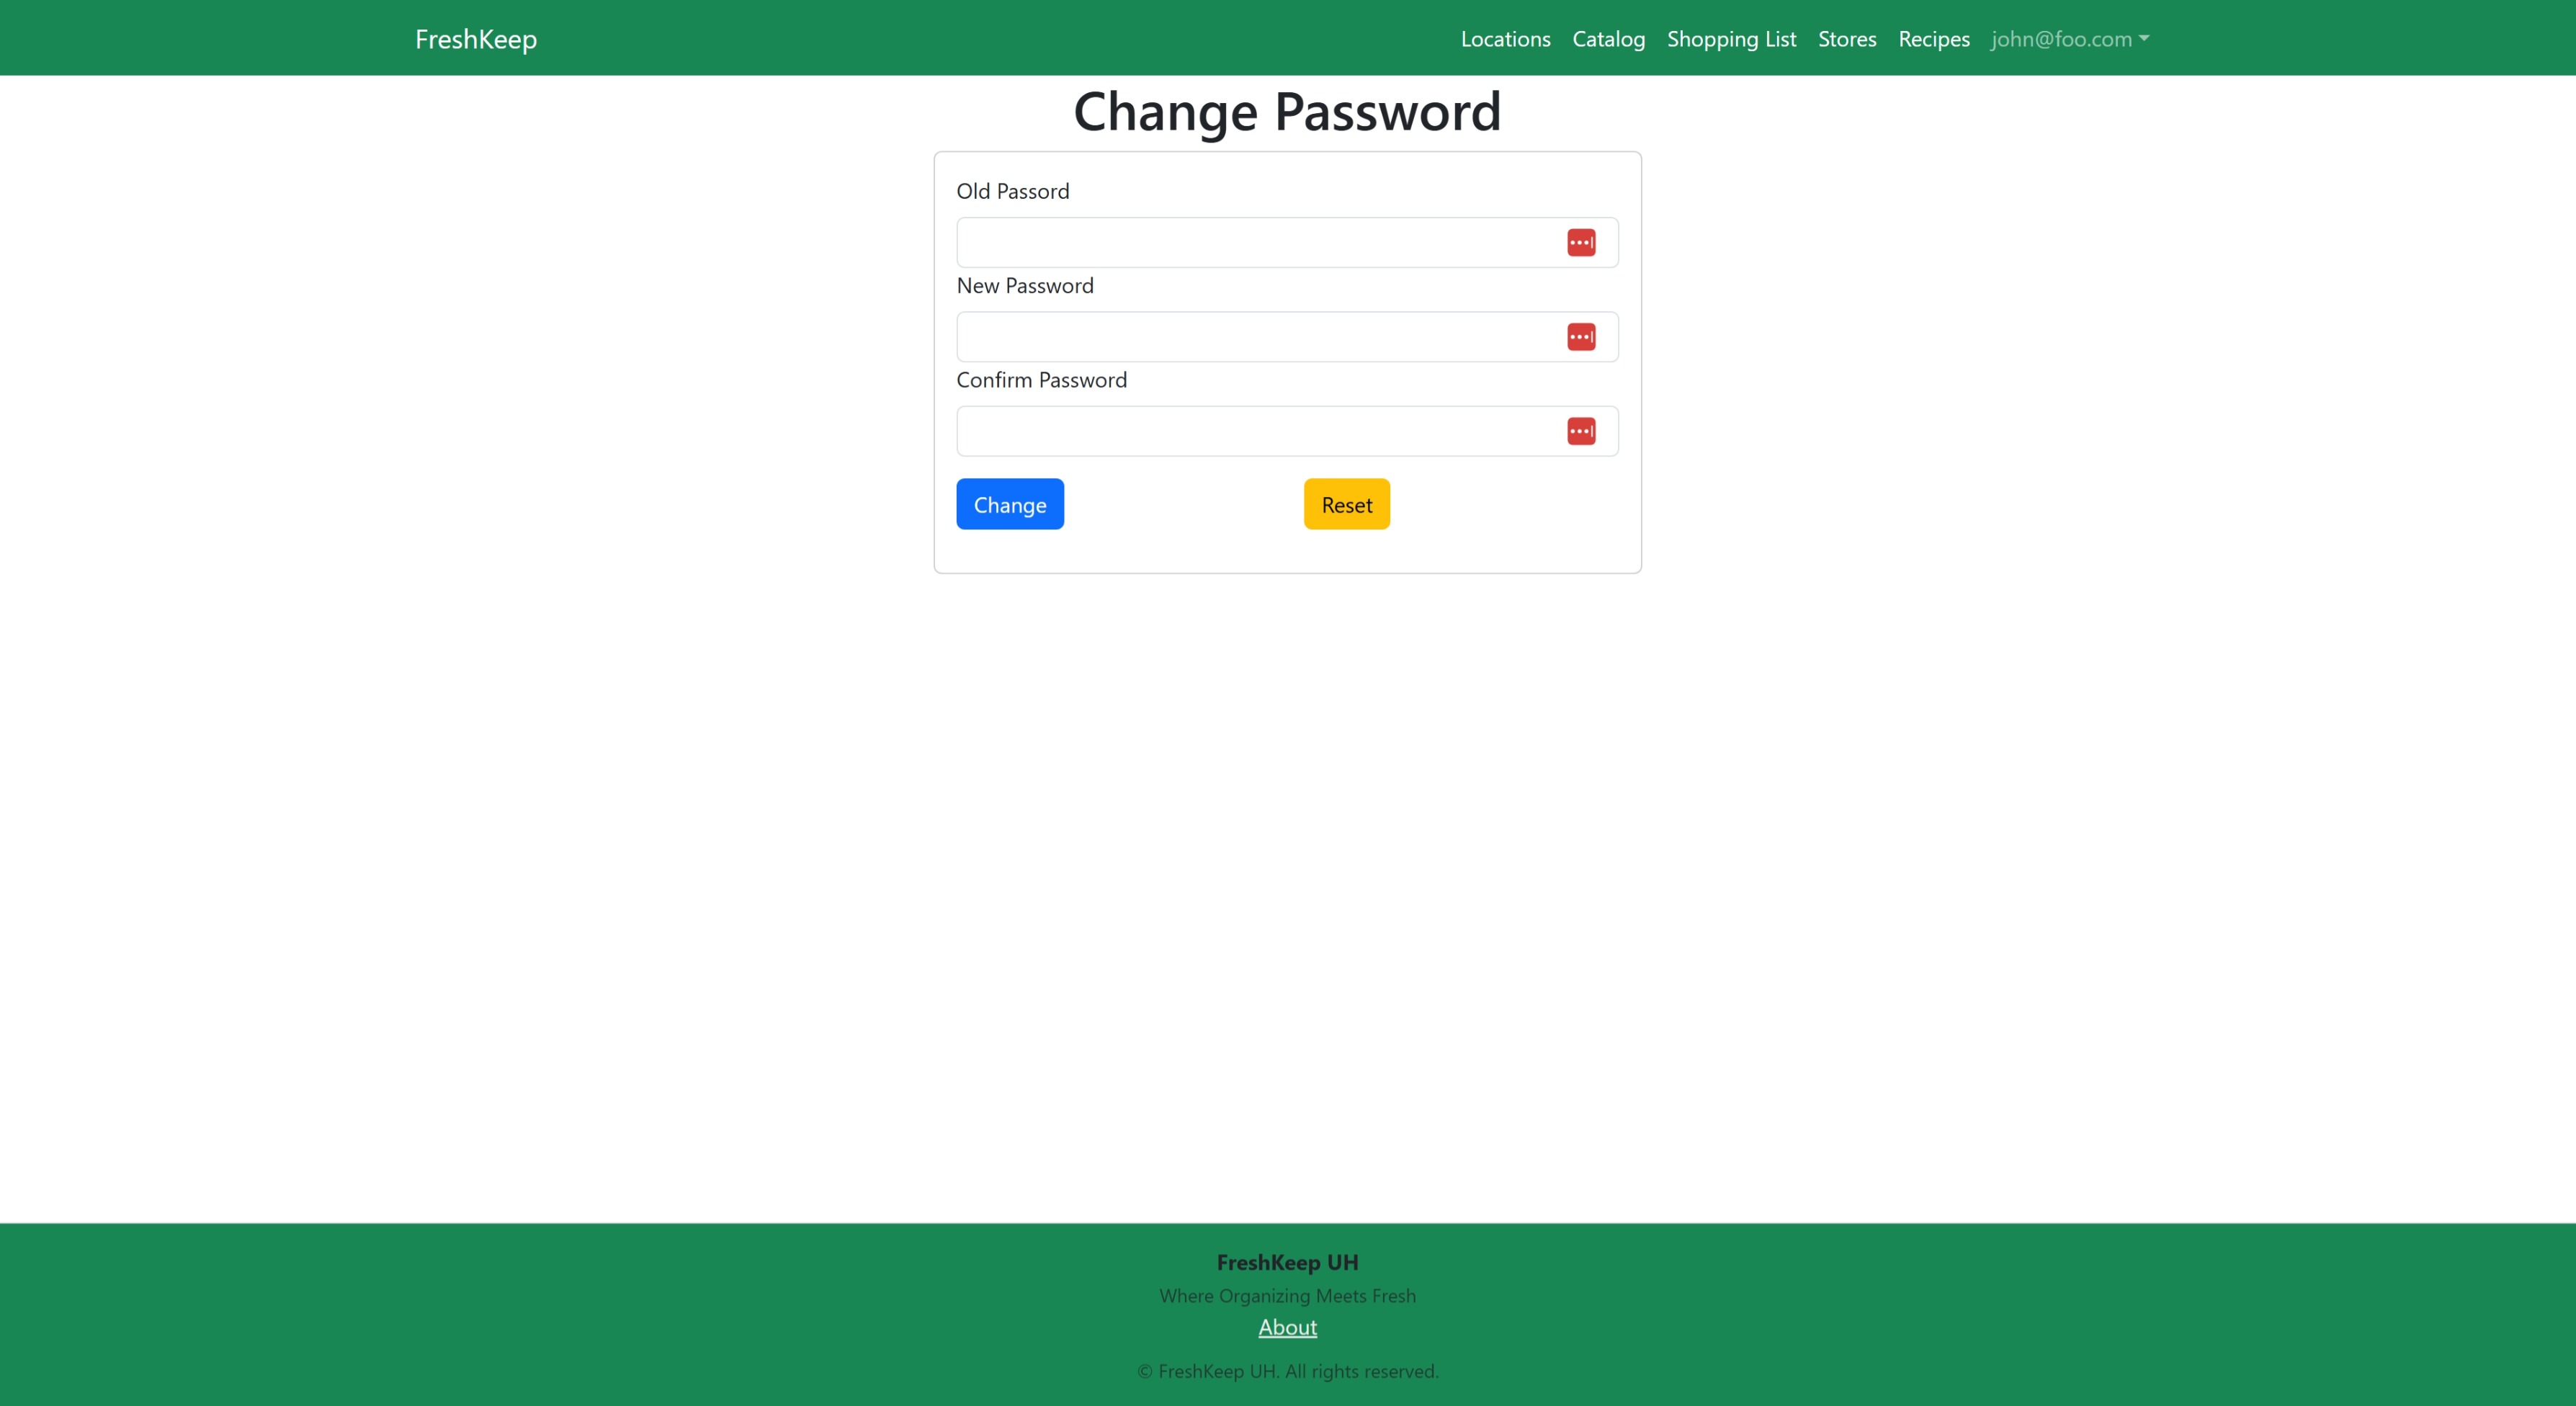 The Change Password page is where you can change your password.
Fields
- Old Password: Enter your existing password.
- New Password: Enter your new password.
- Confirm New Password: Enter your new password again.
Buttons
- Change: Change the password.
- Reset: Clear the form.
Links
- Forgot Password: Go to the Forgot Password page.
Forgot Password
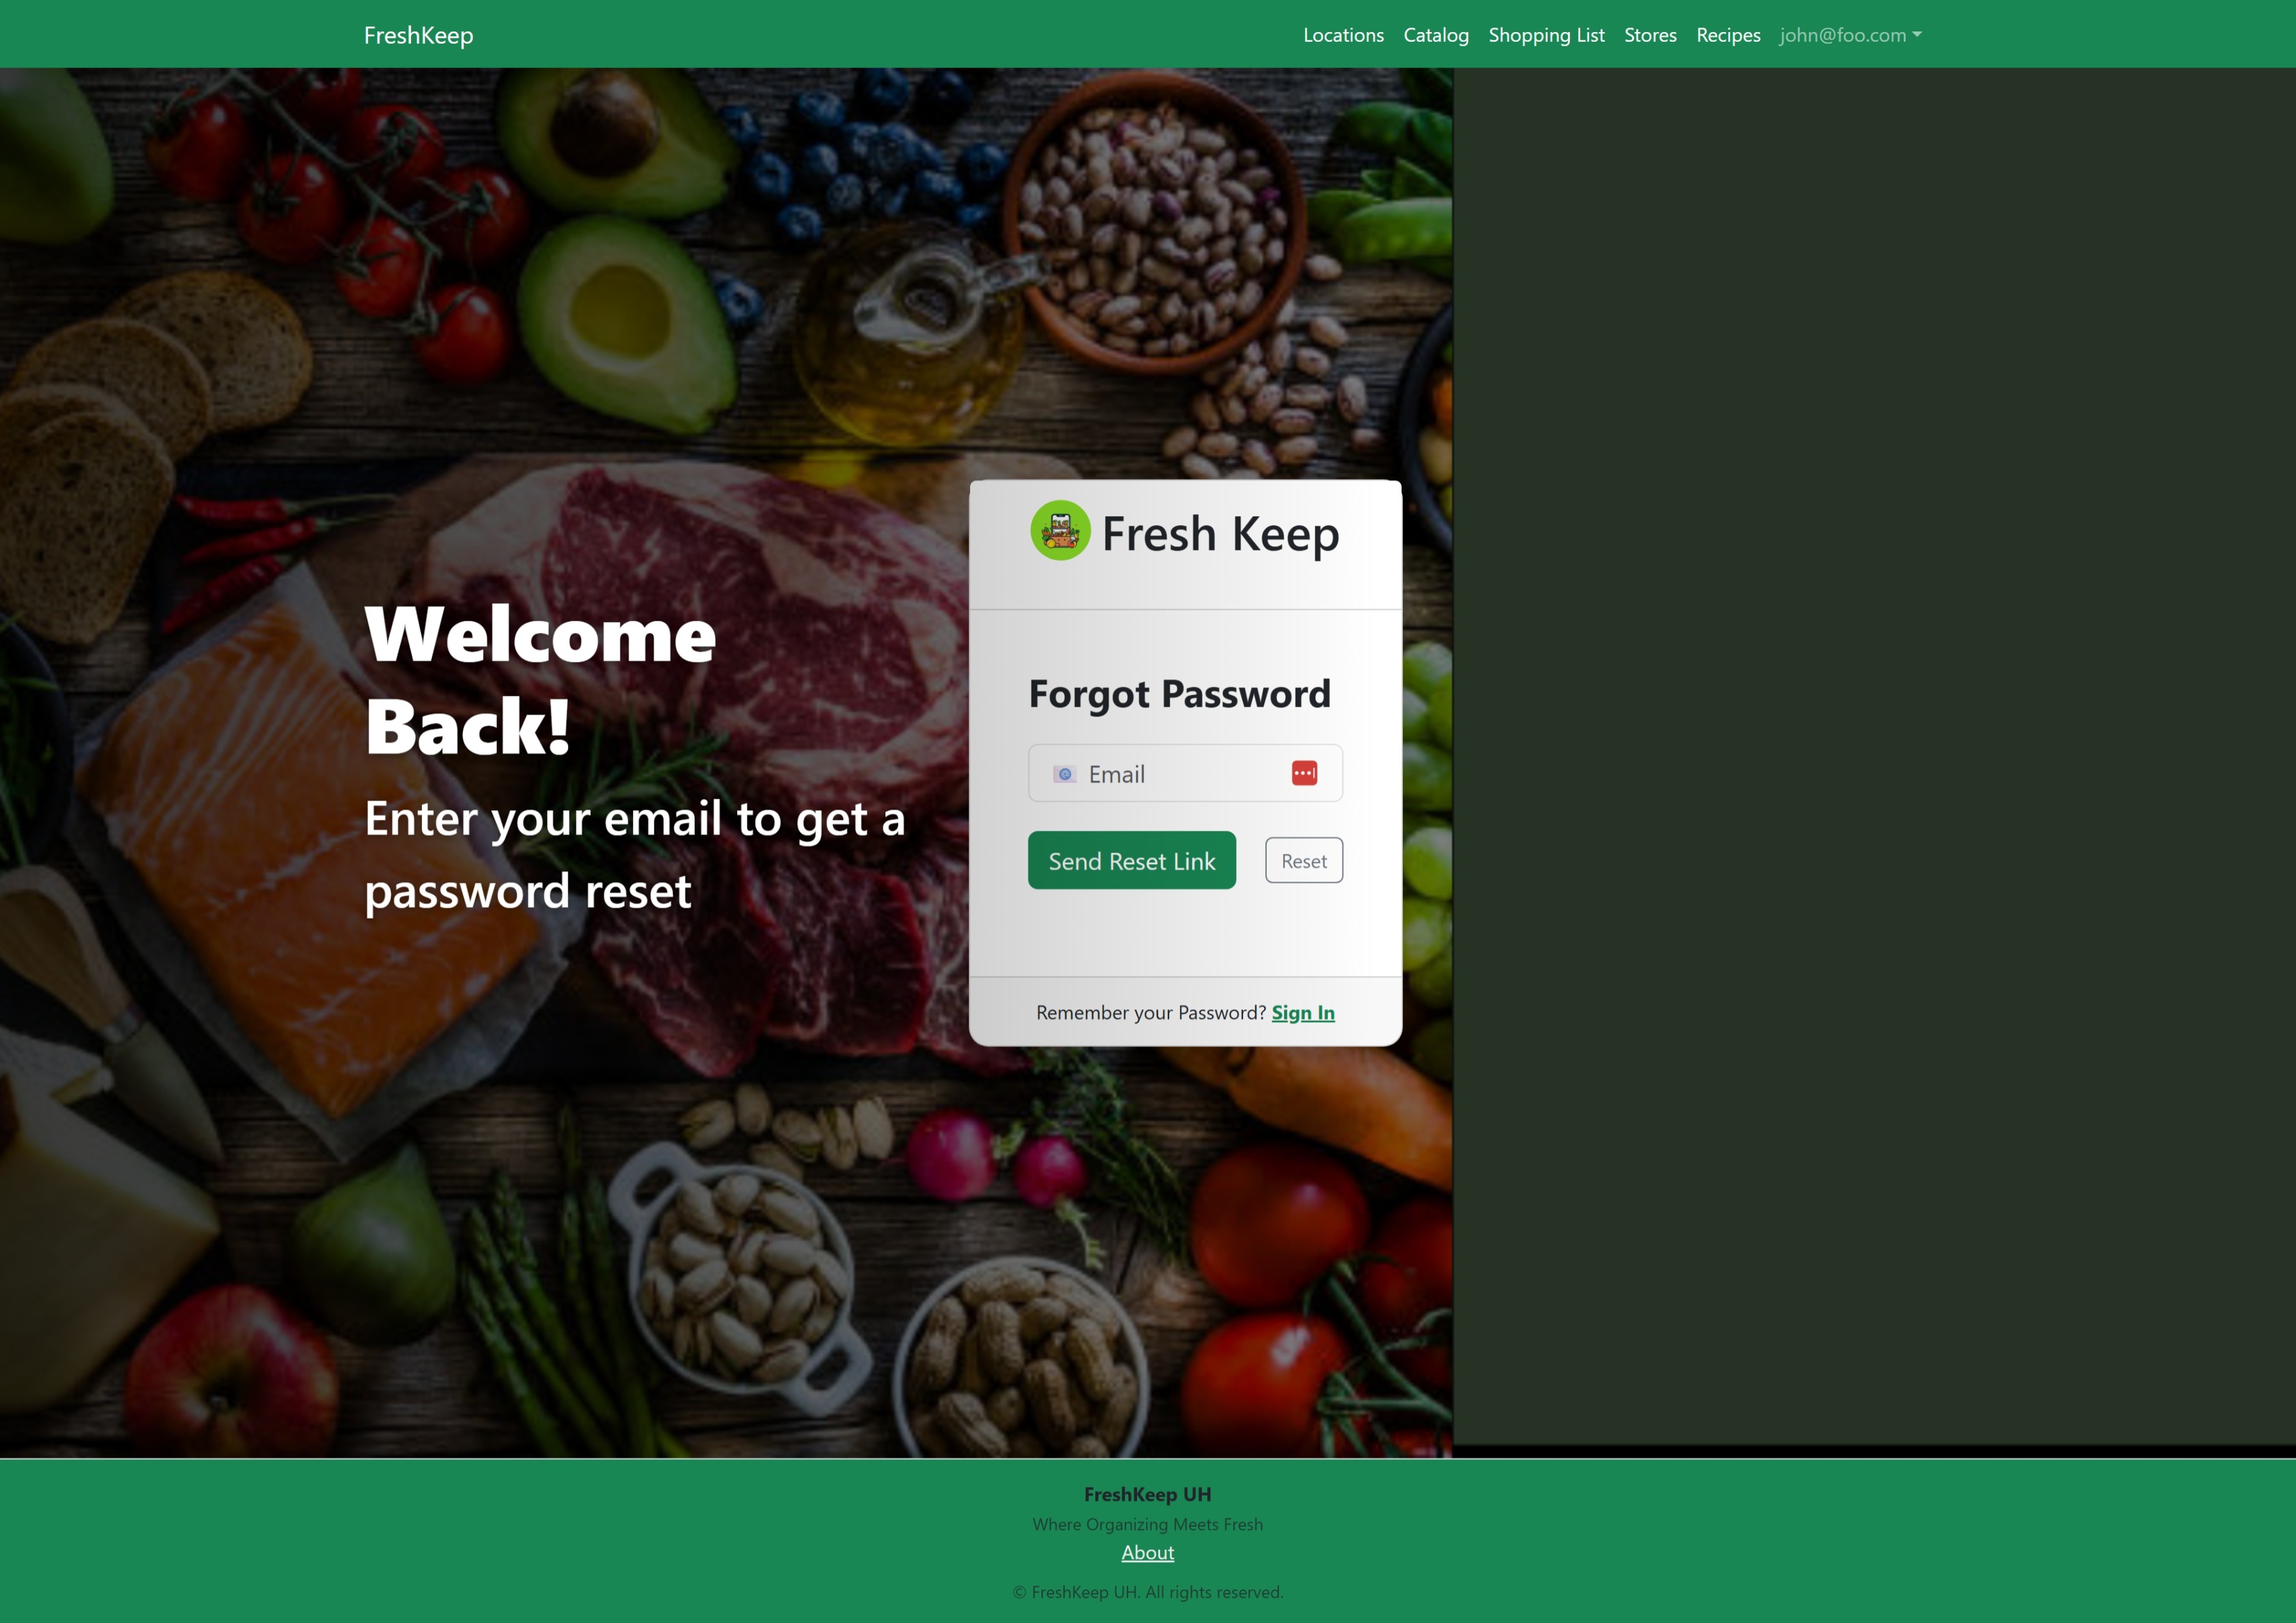 The Forgot Password page is where you can enter your email address to get a Password Reset link.
Reset Password
 The Reset Password page is where you can reset your password if you forgot it.
Dashboard
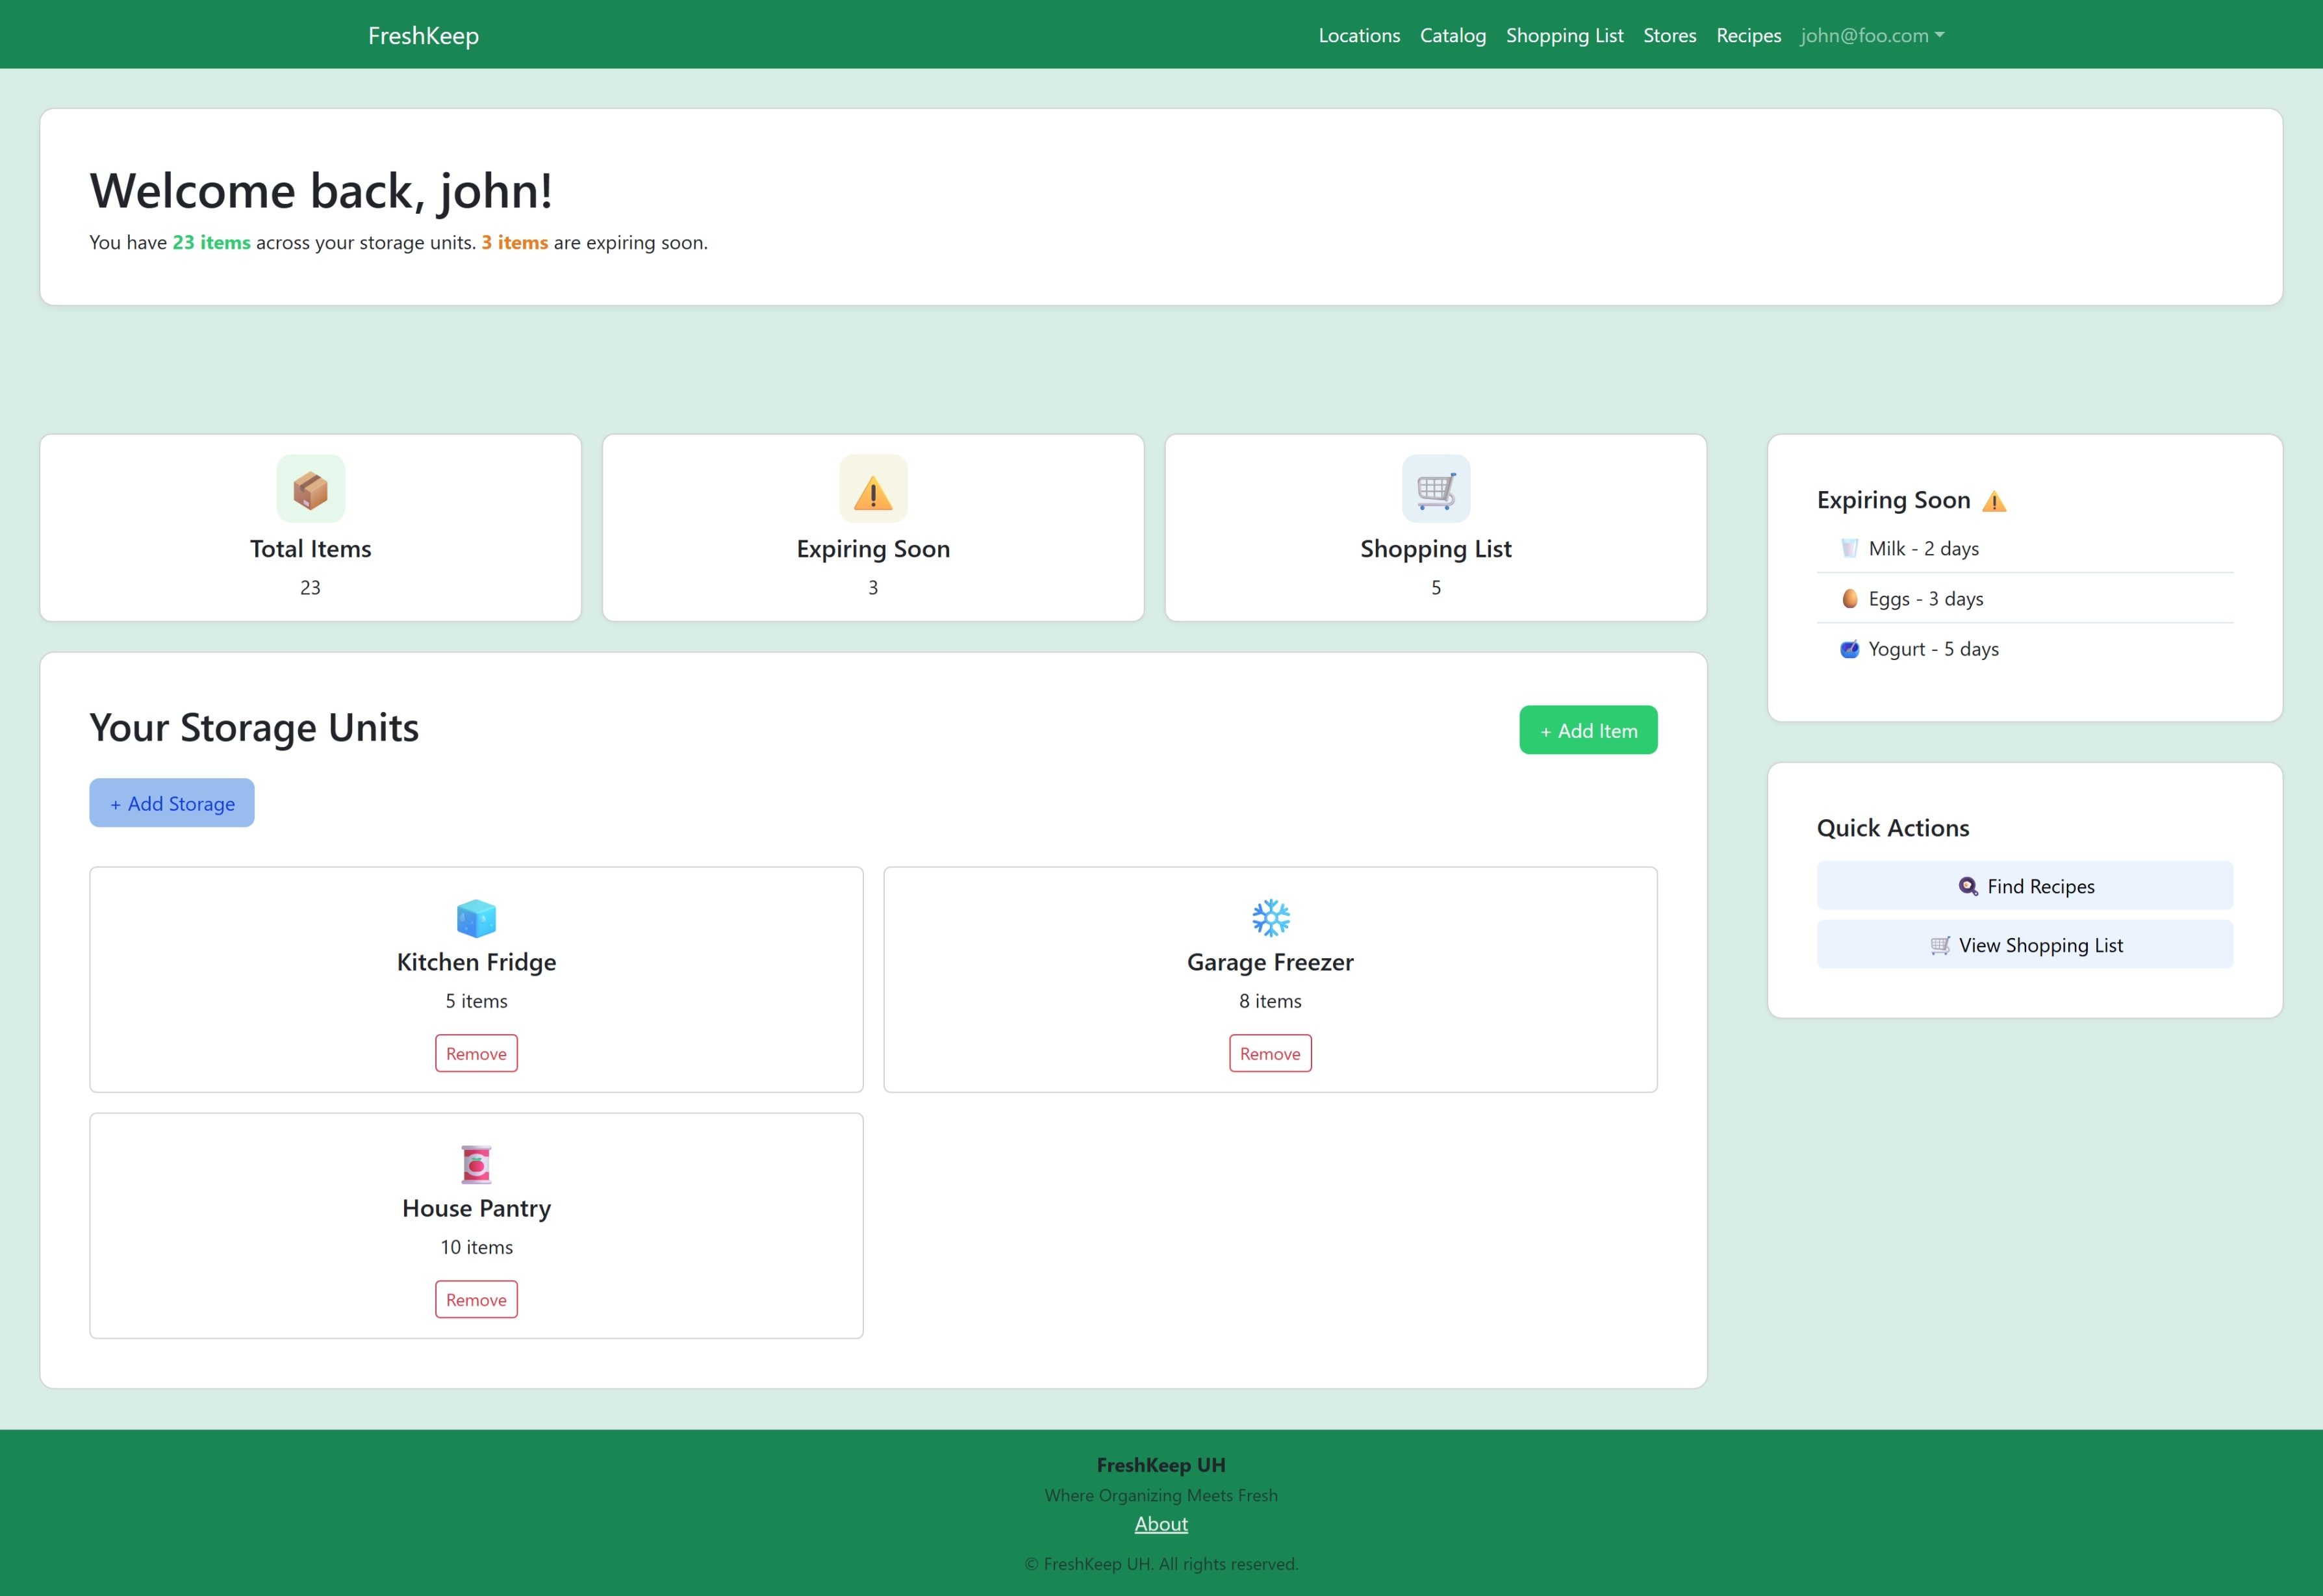 The Dashboard page is your quick view of your inventory and gateway to all of the apps functions.
Components
- Total Items: Shows the total number of items in your inventory across all locations and storage areas. CLicking on Total Items will take you to the Inventory report.
- Expired: Shows the number of items in your inventory that are expired. CLicking on Expired will take you to the Expired report.
- Shopping List: Shows the number of items on your default shopping list. Clicking on Shopping List will take you to the associated Shopping List page, where you can see all of the items on that Shopping List.
- Storage Areas: Shows a tabbed list with All and each Location. Each tab shows the Storage Areas associated with the Location. Each Storage Area is displayed with an icon, based on the type, and name of the Storage Area, and the number of items contained. Clicking on the Storage Area takes you to the associated Storage Area page, where you can see a detailed listing of the items contained within.
- Expiring Soon: Shows the number of items in your inventory that are expiring in the next few days and the three (3) closest to being expired. The threshold for the number of days for inclusion can be set on the Settings page. CLicking on Expiring Soon will take you to the Expiring report.
- Quick Actions: Allows you to quickly navigate to the Recipes page, or to the Products page.
Links
- Locations: Go to the Locations page.
- Catalog: Go to the Catalog page.
- Shopping Lists: Go to the Shopping Lists page.
- Stores: Go to the Stores page.
- Recipes: Go to the Recipes page.
- Users: For Administrators Only. Go to the Users page.
- Your Name/Email: Drops down the user menu.
- Settings: Under the user menu. Go to the Settings page.
- Change Password: Under the user menu. Go to the Change Password page.
- Sign Out: Under the user menu. Sign Out of FreshKeep and return to the Home page.
Locations
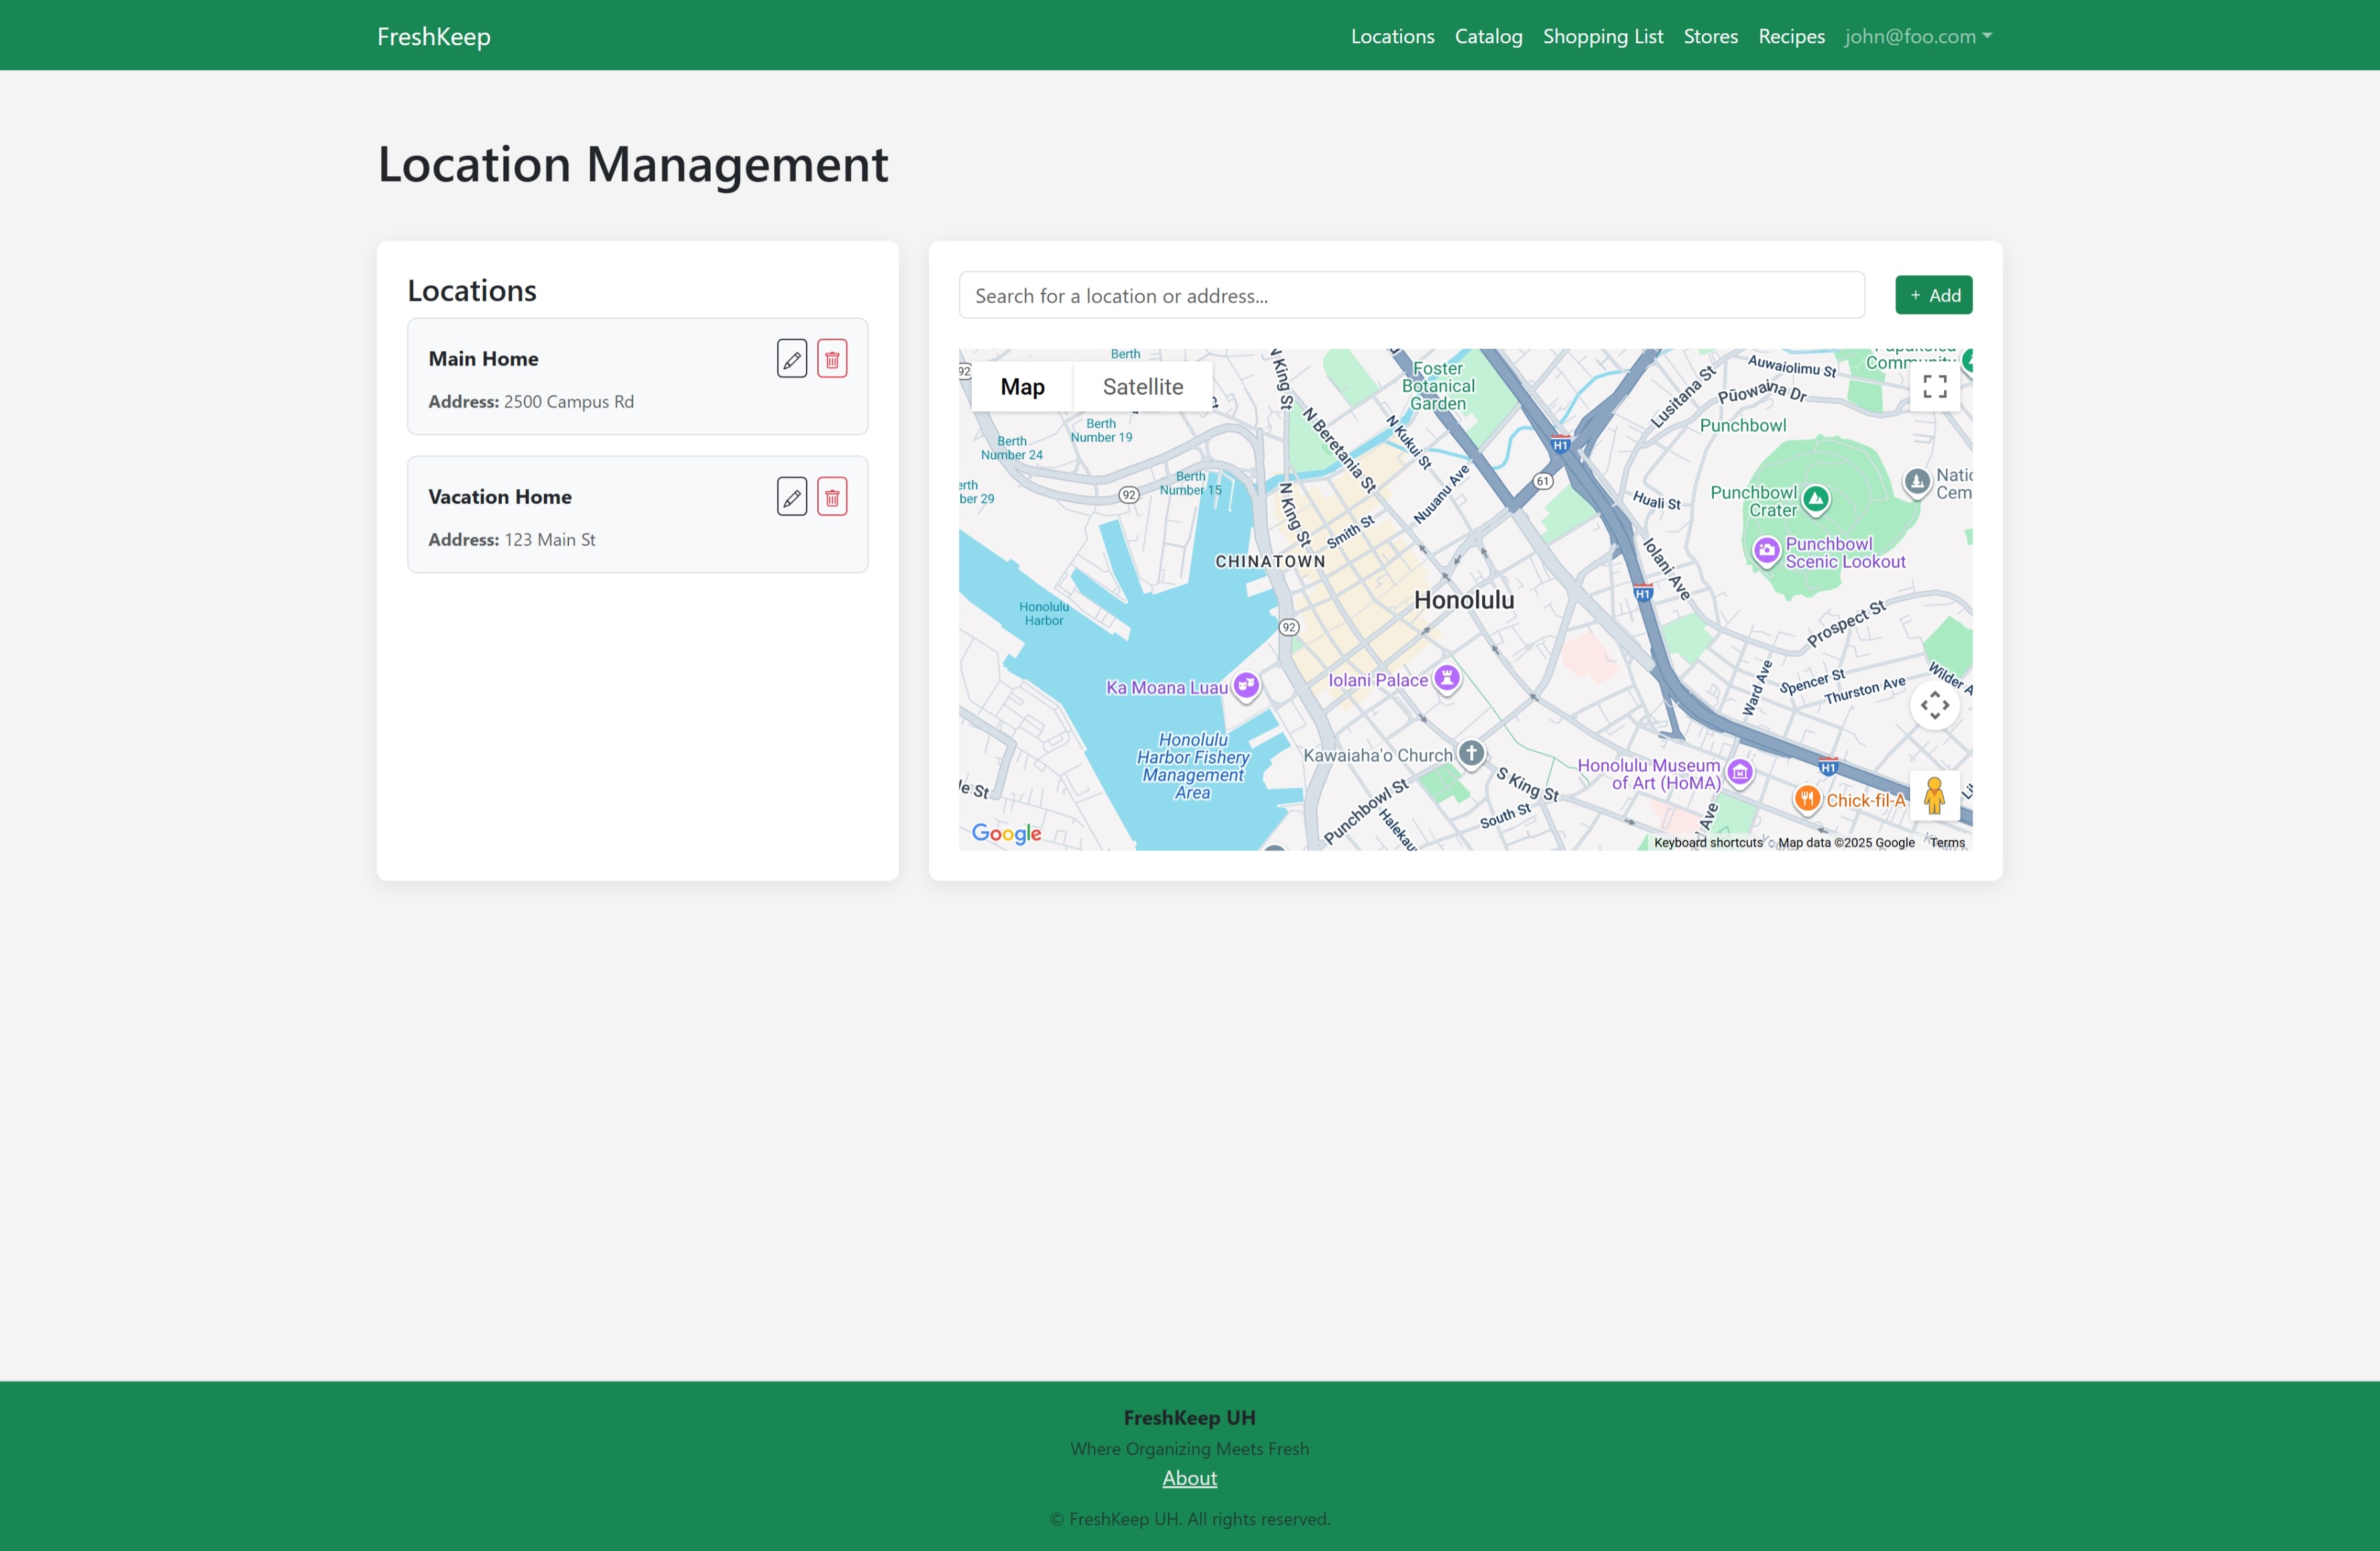 The Locations page is where you can manage your home and other locations where you live or work.
Location
 The Location page letes you see a single location and all of the storage associated with the location.
Location Add/Edit Mode
 The Add/Edit mode of the Location page allows you to edit the name, address, etc. of a new or existing location.
Storage Areas
 The Storages page is where you can manage all of your storage.
Storage Area
 The Storage page letes you see a single storage and all of the product instances associated with it.
Storage Area Add/Edit Mode
 The Add/Edit mode of the Storage page allows you to edit the name, type, etc. of a new or existing storage.
Products
 The Products page is where you can manage all of your products.
Product
 The Product page letes you see a single Product and all of the product instances associated with it.
Product Add/Edit Mode
 The Add/Edit mode of the Product page allows you to edit the name, type, etc. of a new or existing product.
Product Instance
 The Product Instance page allows you to see the instance of the product.
Product Instance Add/Edit Mode
 The Add/Edit mode of the Product Instance page allows you to edit the location, storage, etc. of a new or existing product instance.
Use Mode
 The Use mode of the Product Instance page allows you to edit the Quantity of an existing product instance.
Recipes
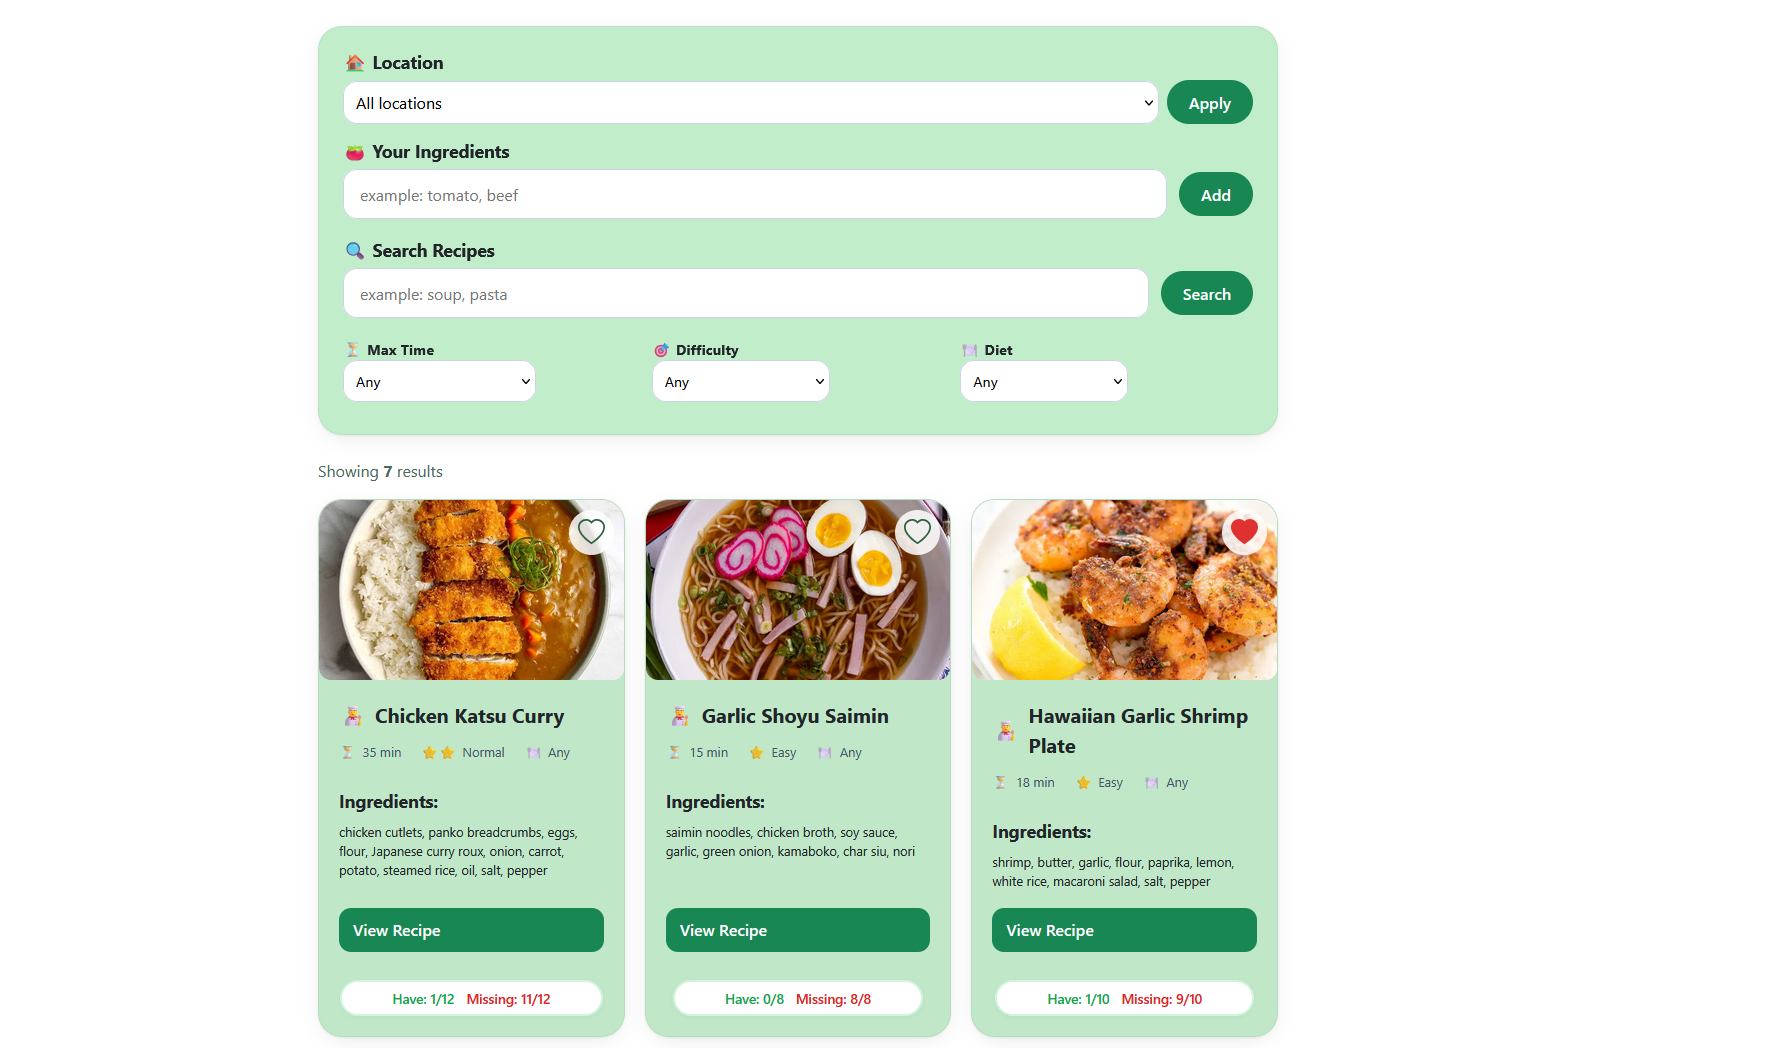 The Recipe page allows you to see your recipes. Use the filter options to find a particular recipe.
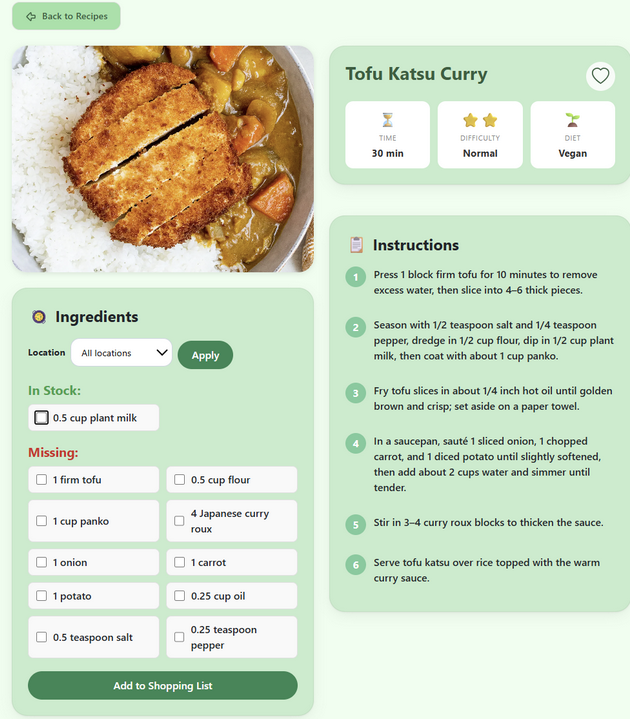
Recipe
 The Recipe page allows you to see the instance of the Recipe.
Recipe Add/Edit Mode
 The Add/Edit mode of the Recipe page allows you to edit the title, etc. of a new or existing recipe.
Shopping Lists
 The Shopping Lists page allows you to see and manage your shopping lists.
Shopping List
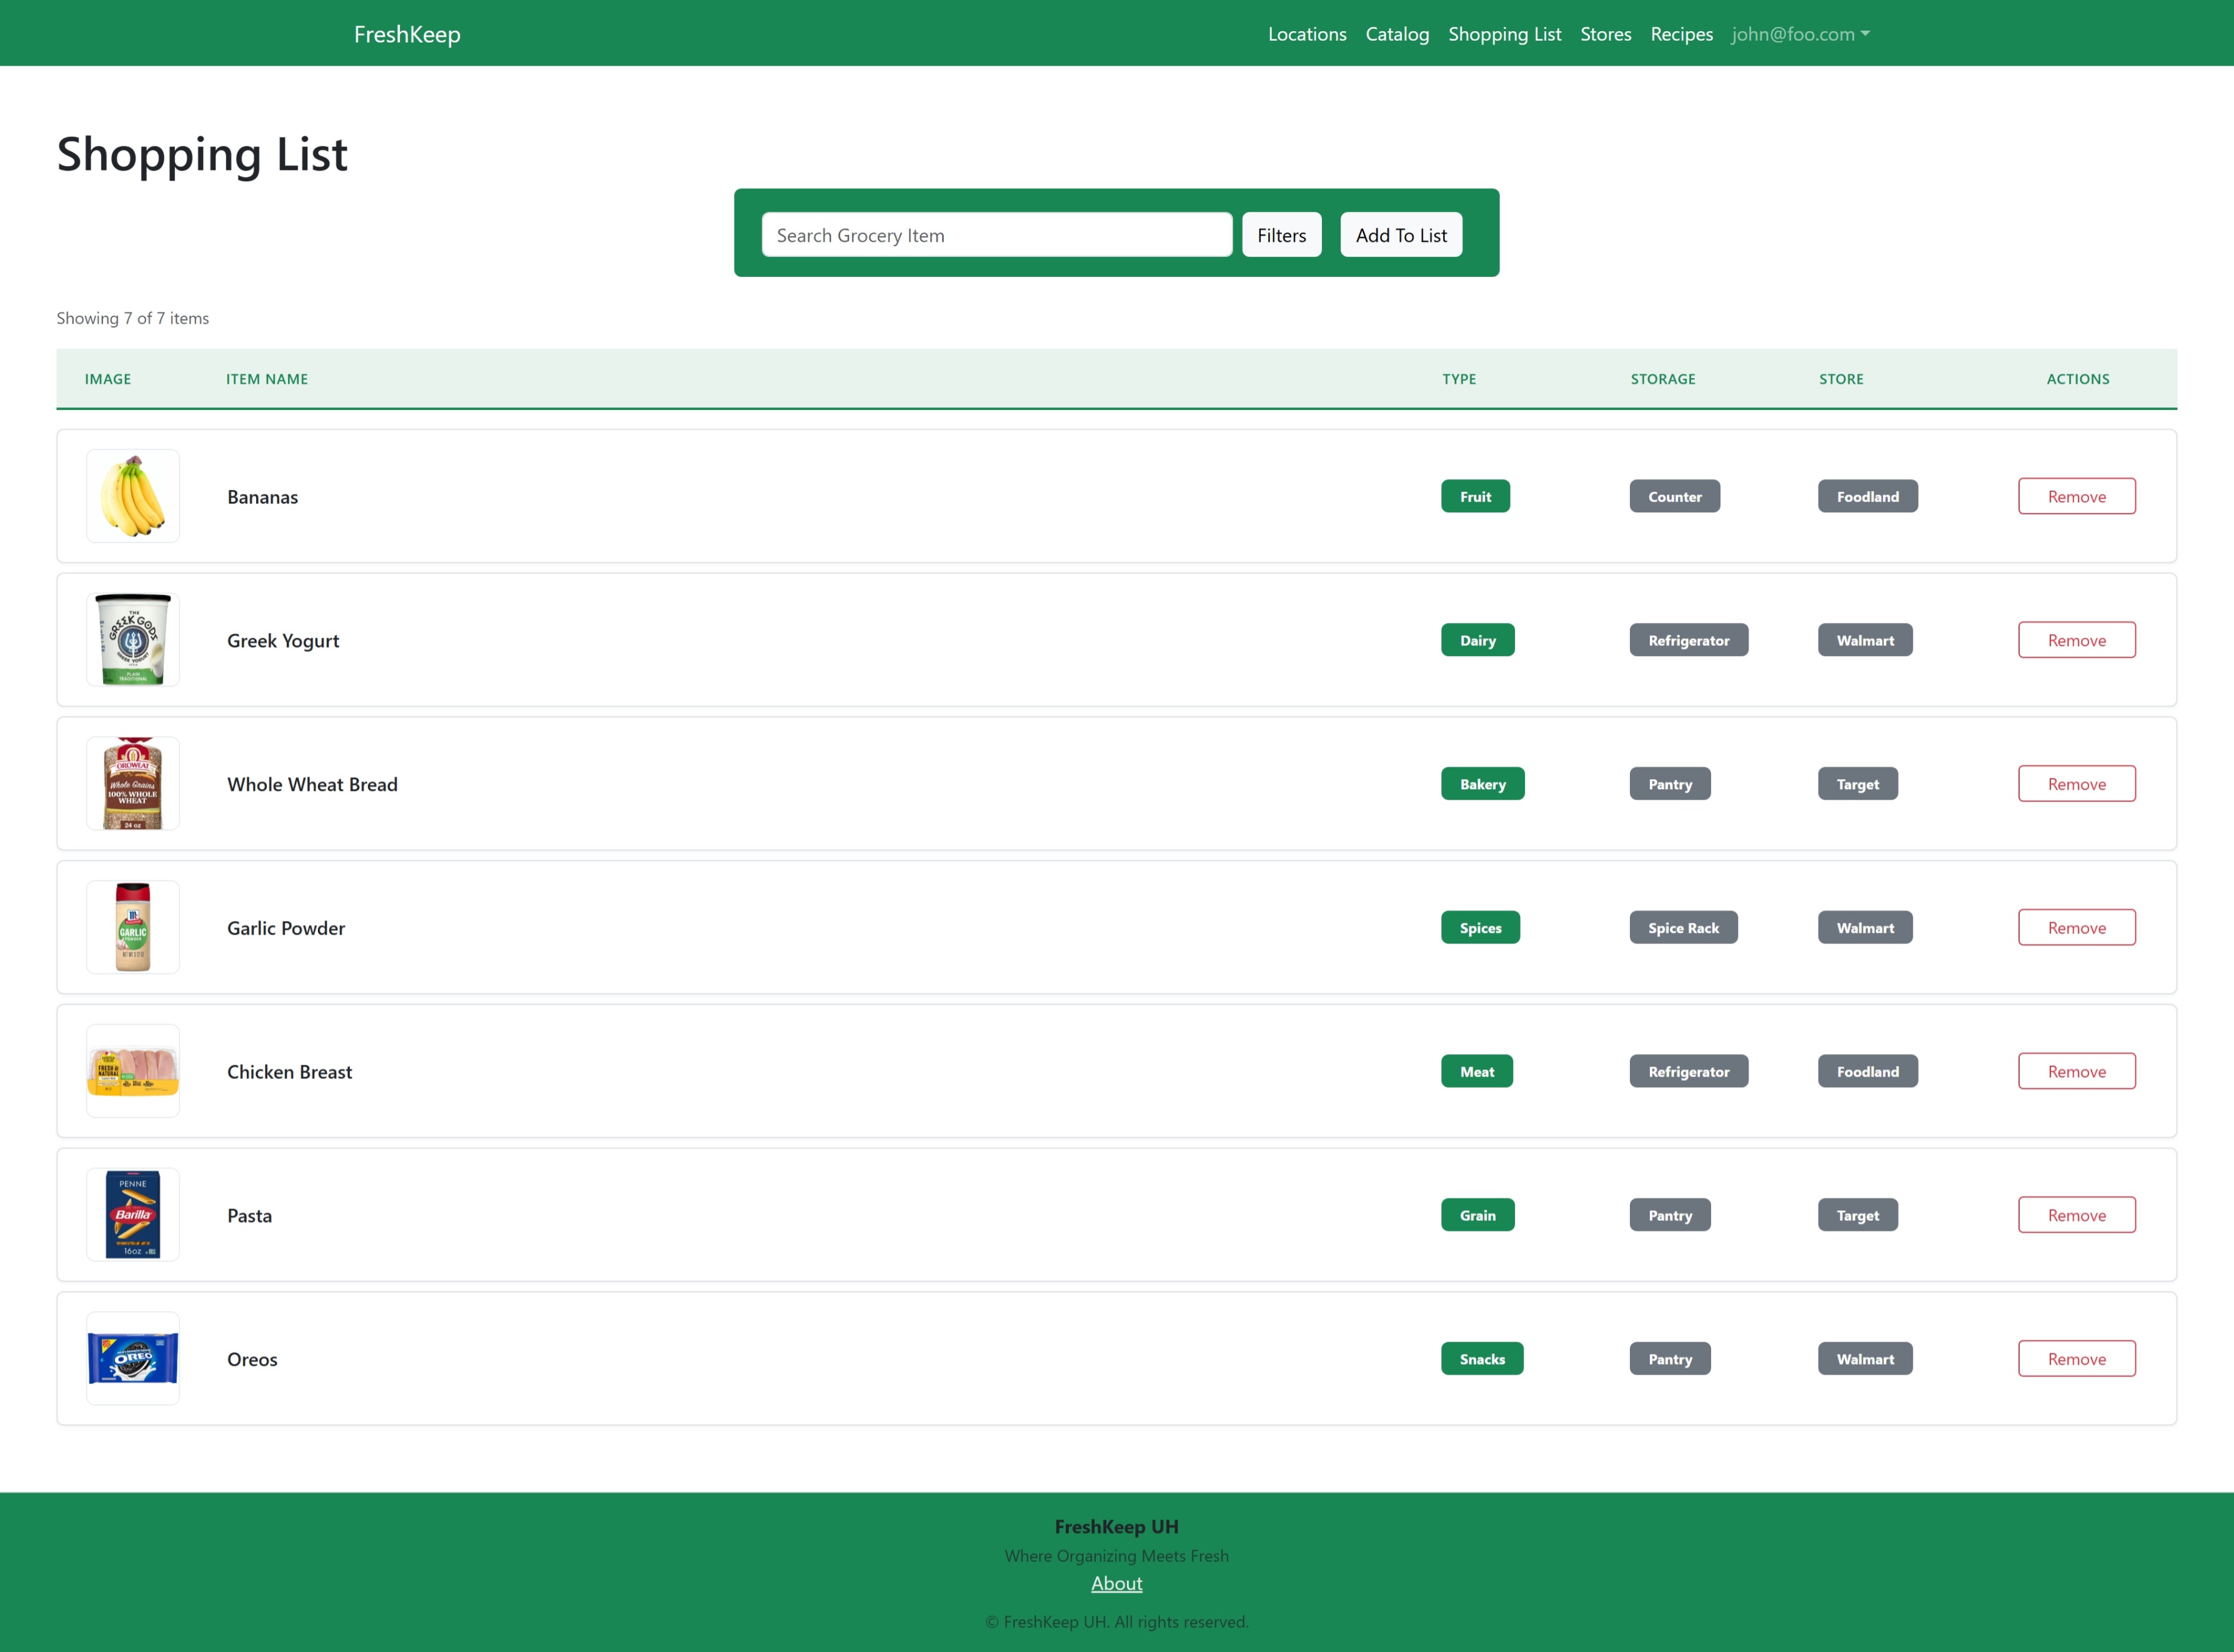 The Shopping List page allows you to see the individual shopping list and the products associated with it.
Shopping List Add/Edit Mode
 The Add/Edit mode of the Shopping List page allows you to edit the name, etc.
Stores
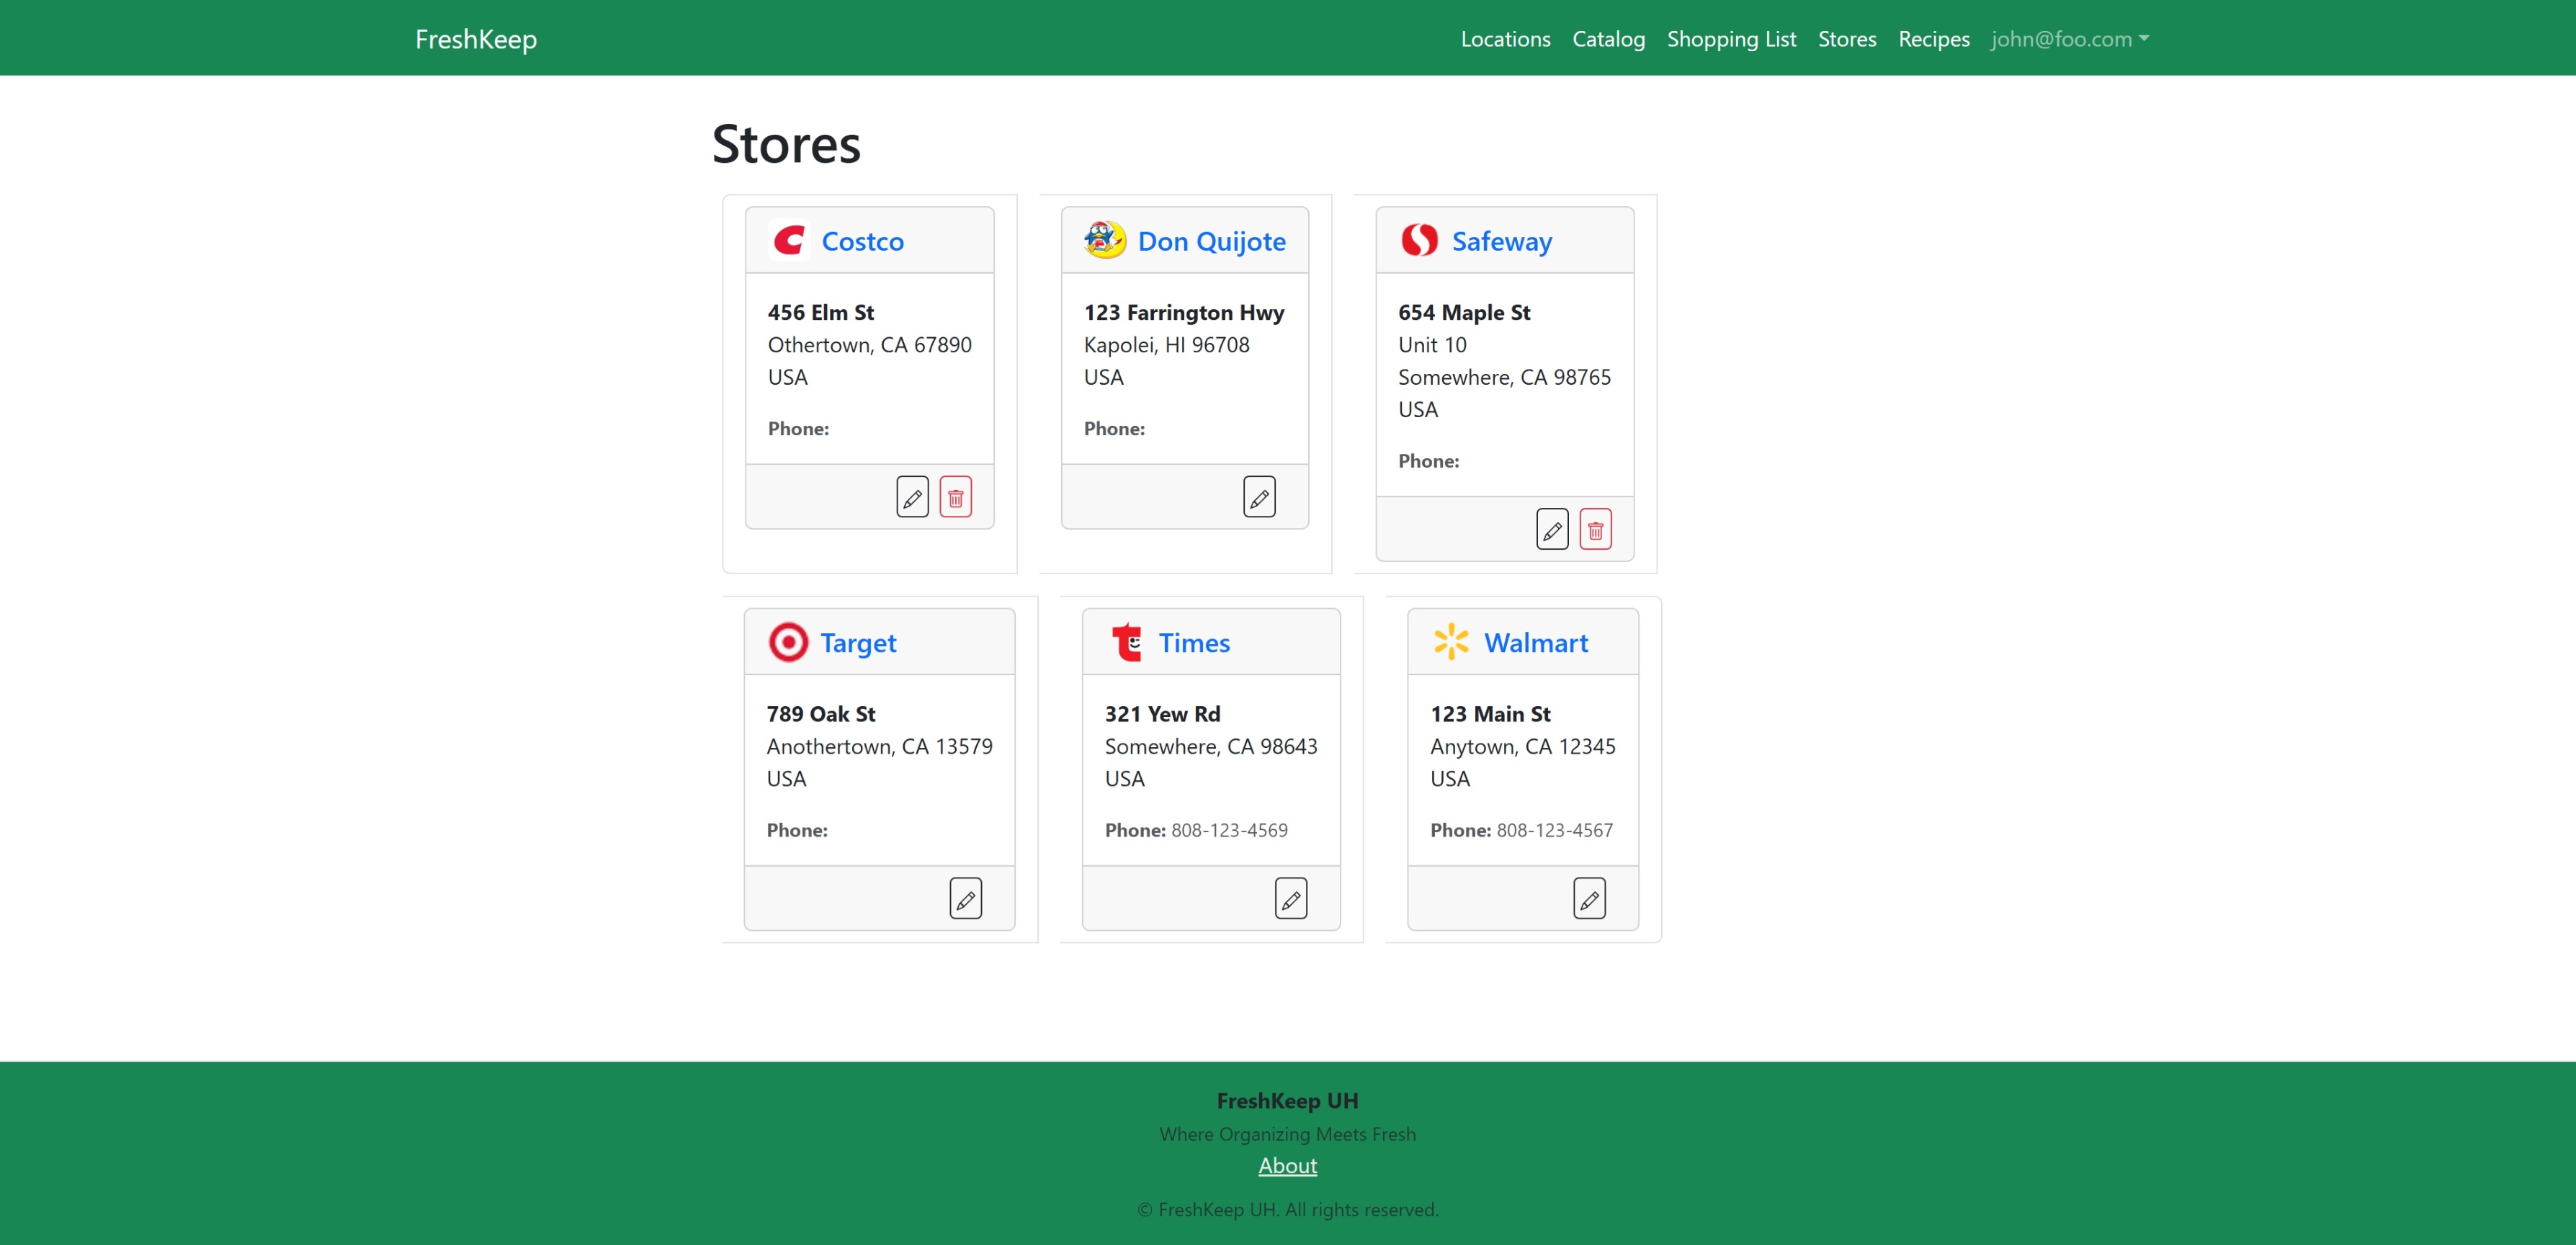 The Stores page allows you to see the stores at which you shop.
Buttons
- Add: The Plus icon pops up a modal dialog where you can add a Store. See the Store Add/Edit Mode section for details on the available fields and buttons.
- Edit: The Pencil icon puts you into Edit mode, where you can edit the name, address, etc. See the Store Add/Edit Mode section for details on the available fields and buttons.
- Delete: The Trash Can icon deletes the store, and is only enabled if the Store has no Shopping Lists or Products associated with it.
Links
- Store Logo: Go to the Store's Webpage, if known.
- Store Name: Go to the Store page, where you can see and edit the Store information, and view the Shopping Lists and Products associated with the Store.
Store
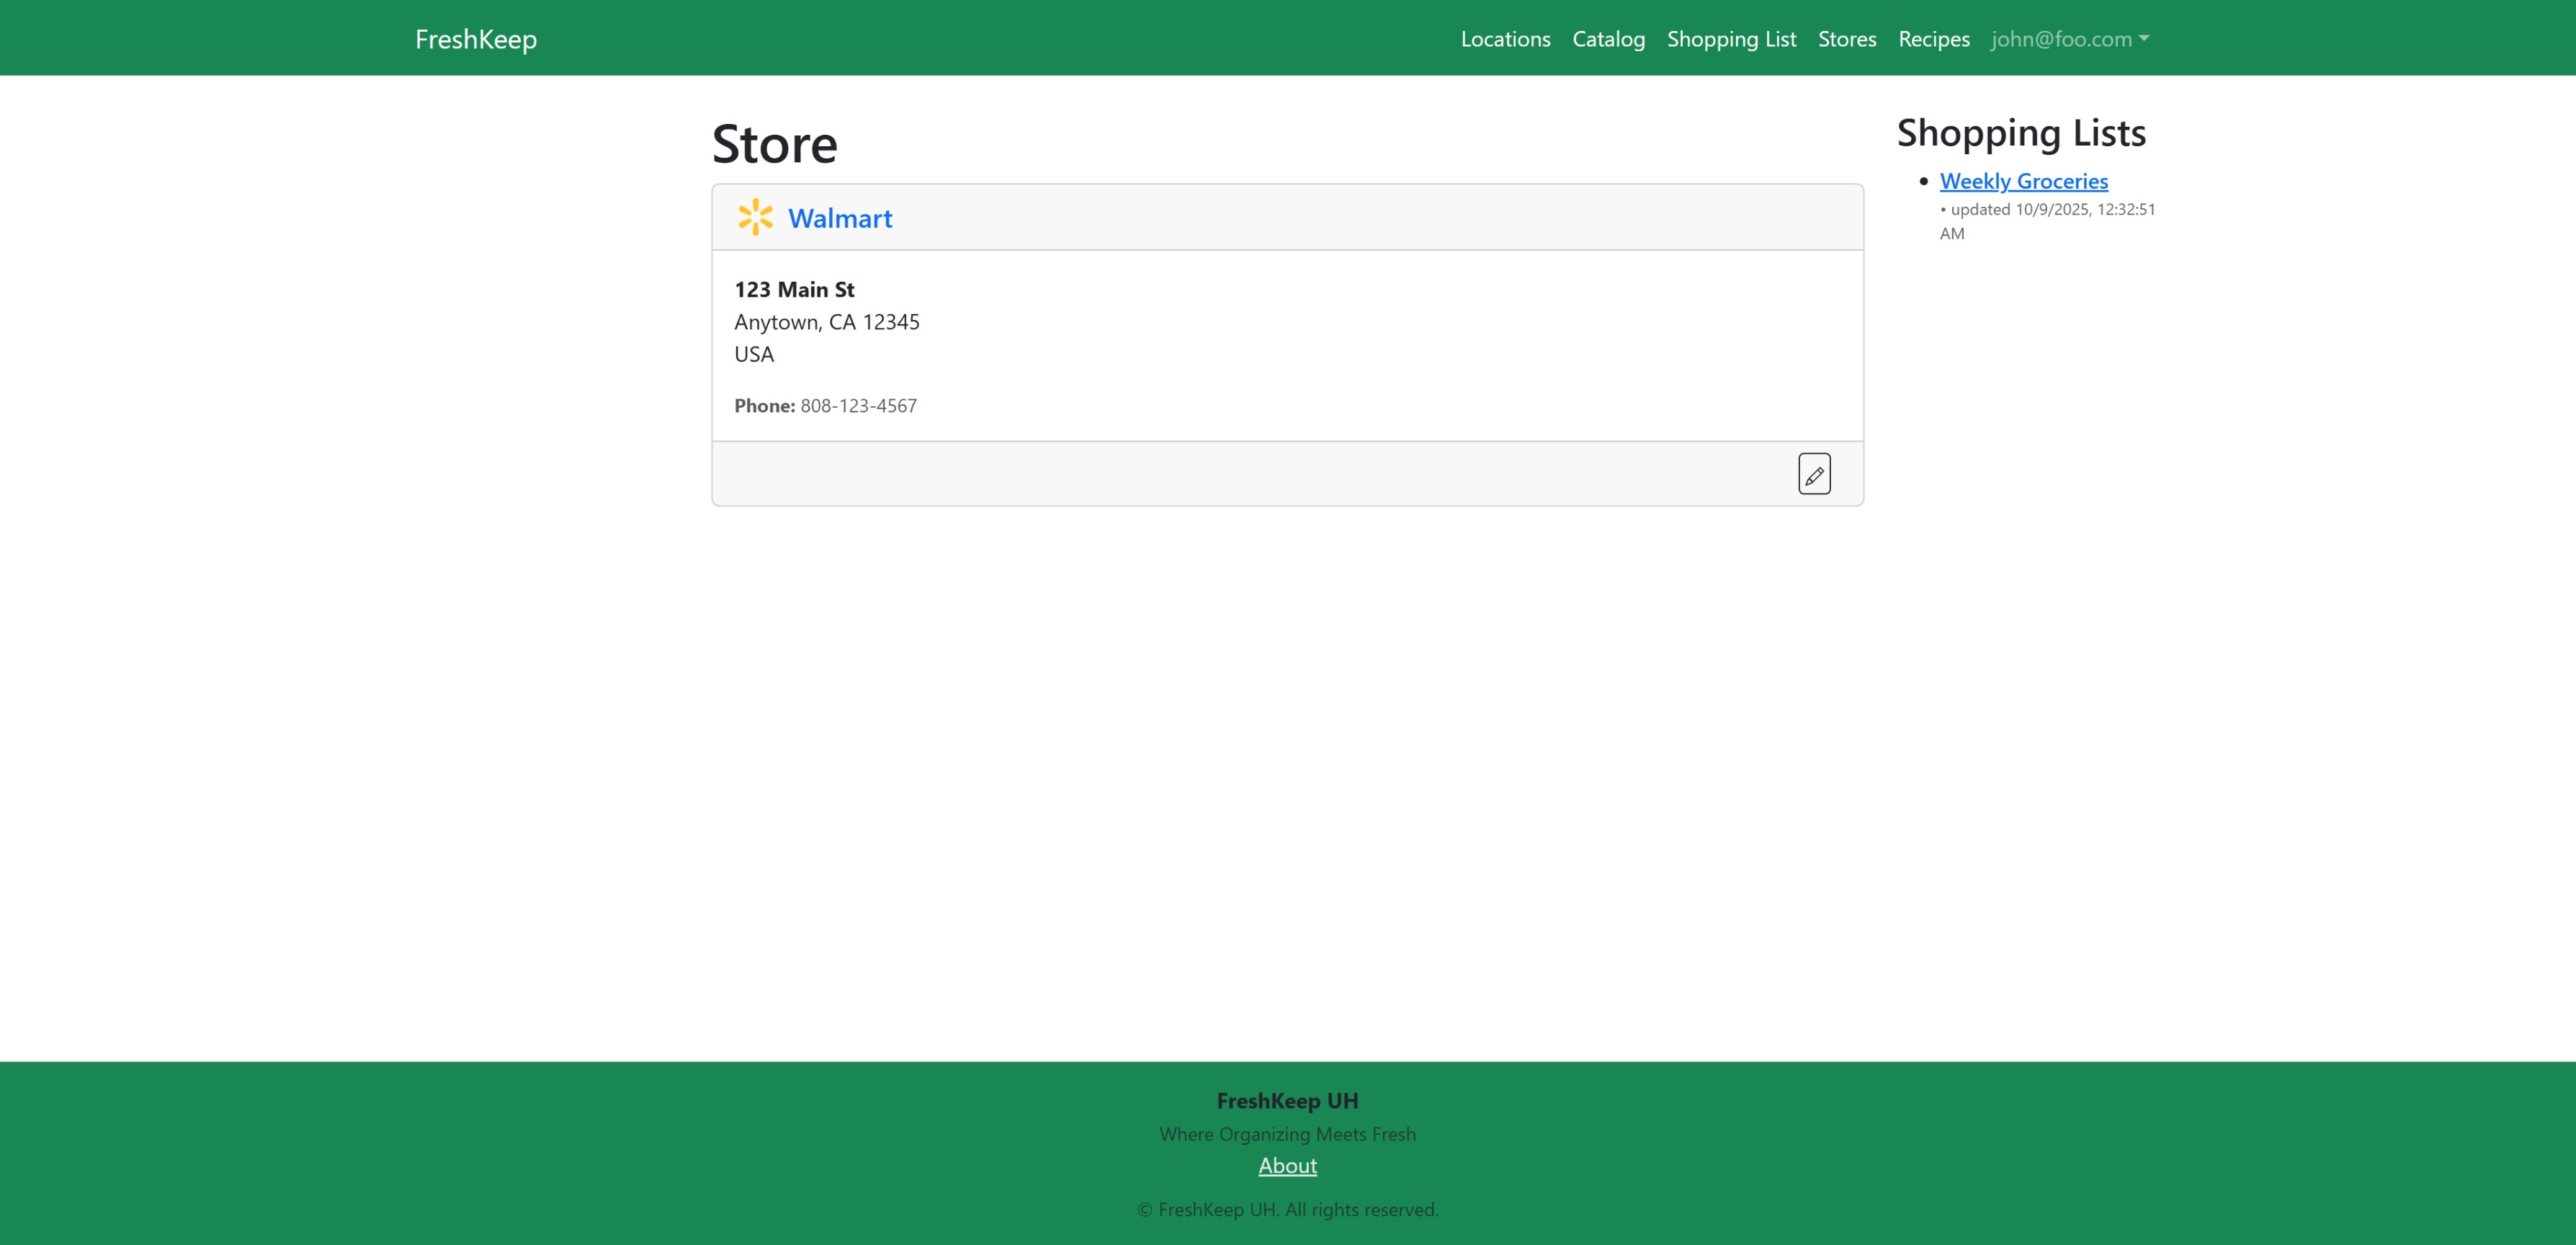 The Store page allows you to see the particular store, the shopping lists associated with it, and the Products you purchase from that store.
Buttons
- Back: Go back to the referring page.
- Edit: The Pencil icon puts you into Edit mode, where you can edit the name, address, etc. See the Store Add/Edit Mode section for details on the available fields and buttons.
- Delete: The Trash Can icon deletes the store, and is only enabled if the Store has no Shopping Lists or Products associated with it.
Links
- Store Logo: Go to the Store's Webpage, if known.
- Shopping List Name: Go to the Shopping List page, where you can see and edit the Shopping List information, and view the Products associated with that List.
- Product Name: Go to the Product page, where you can see and edit the Product information, and view the Instances associated with that Product.
Store Add/Edit Mode
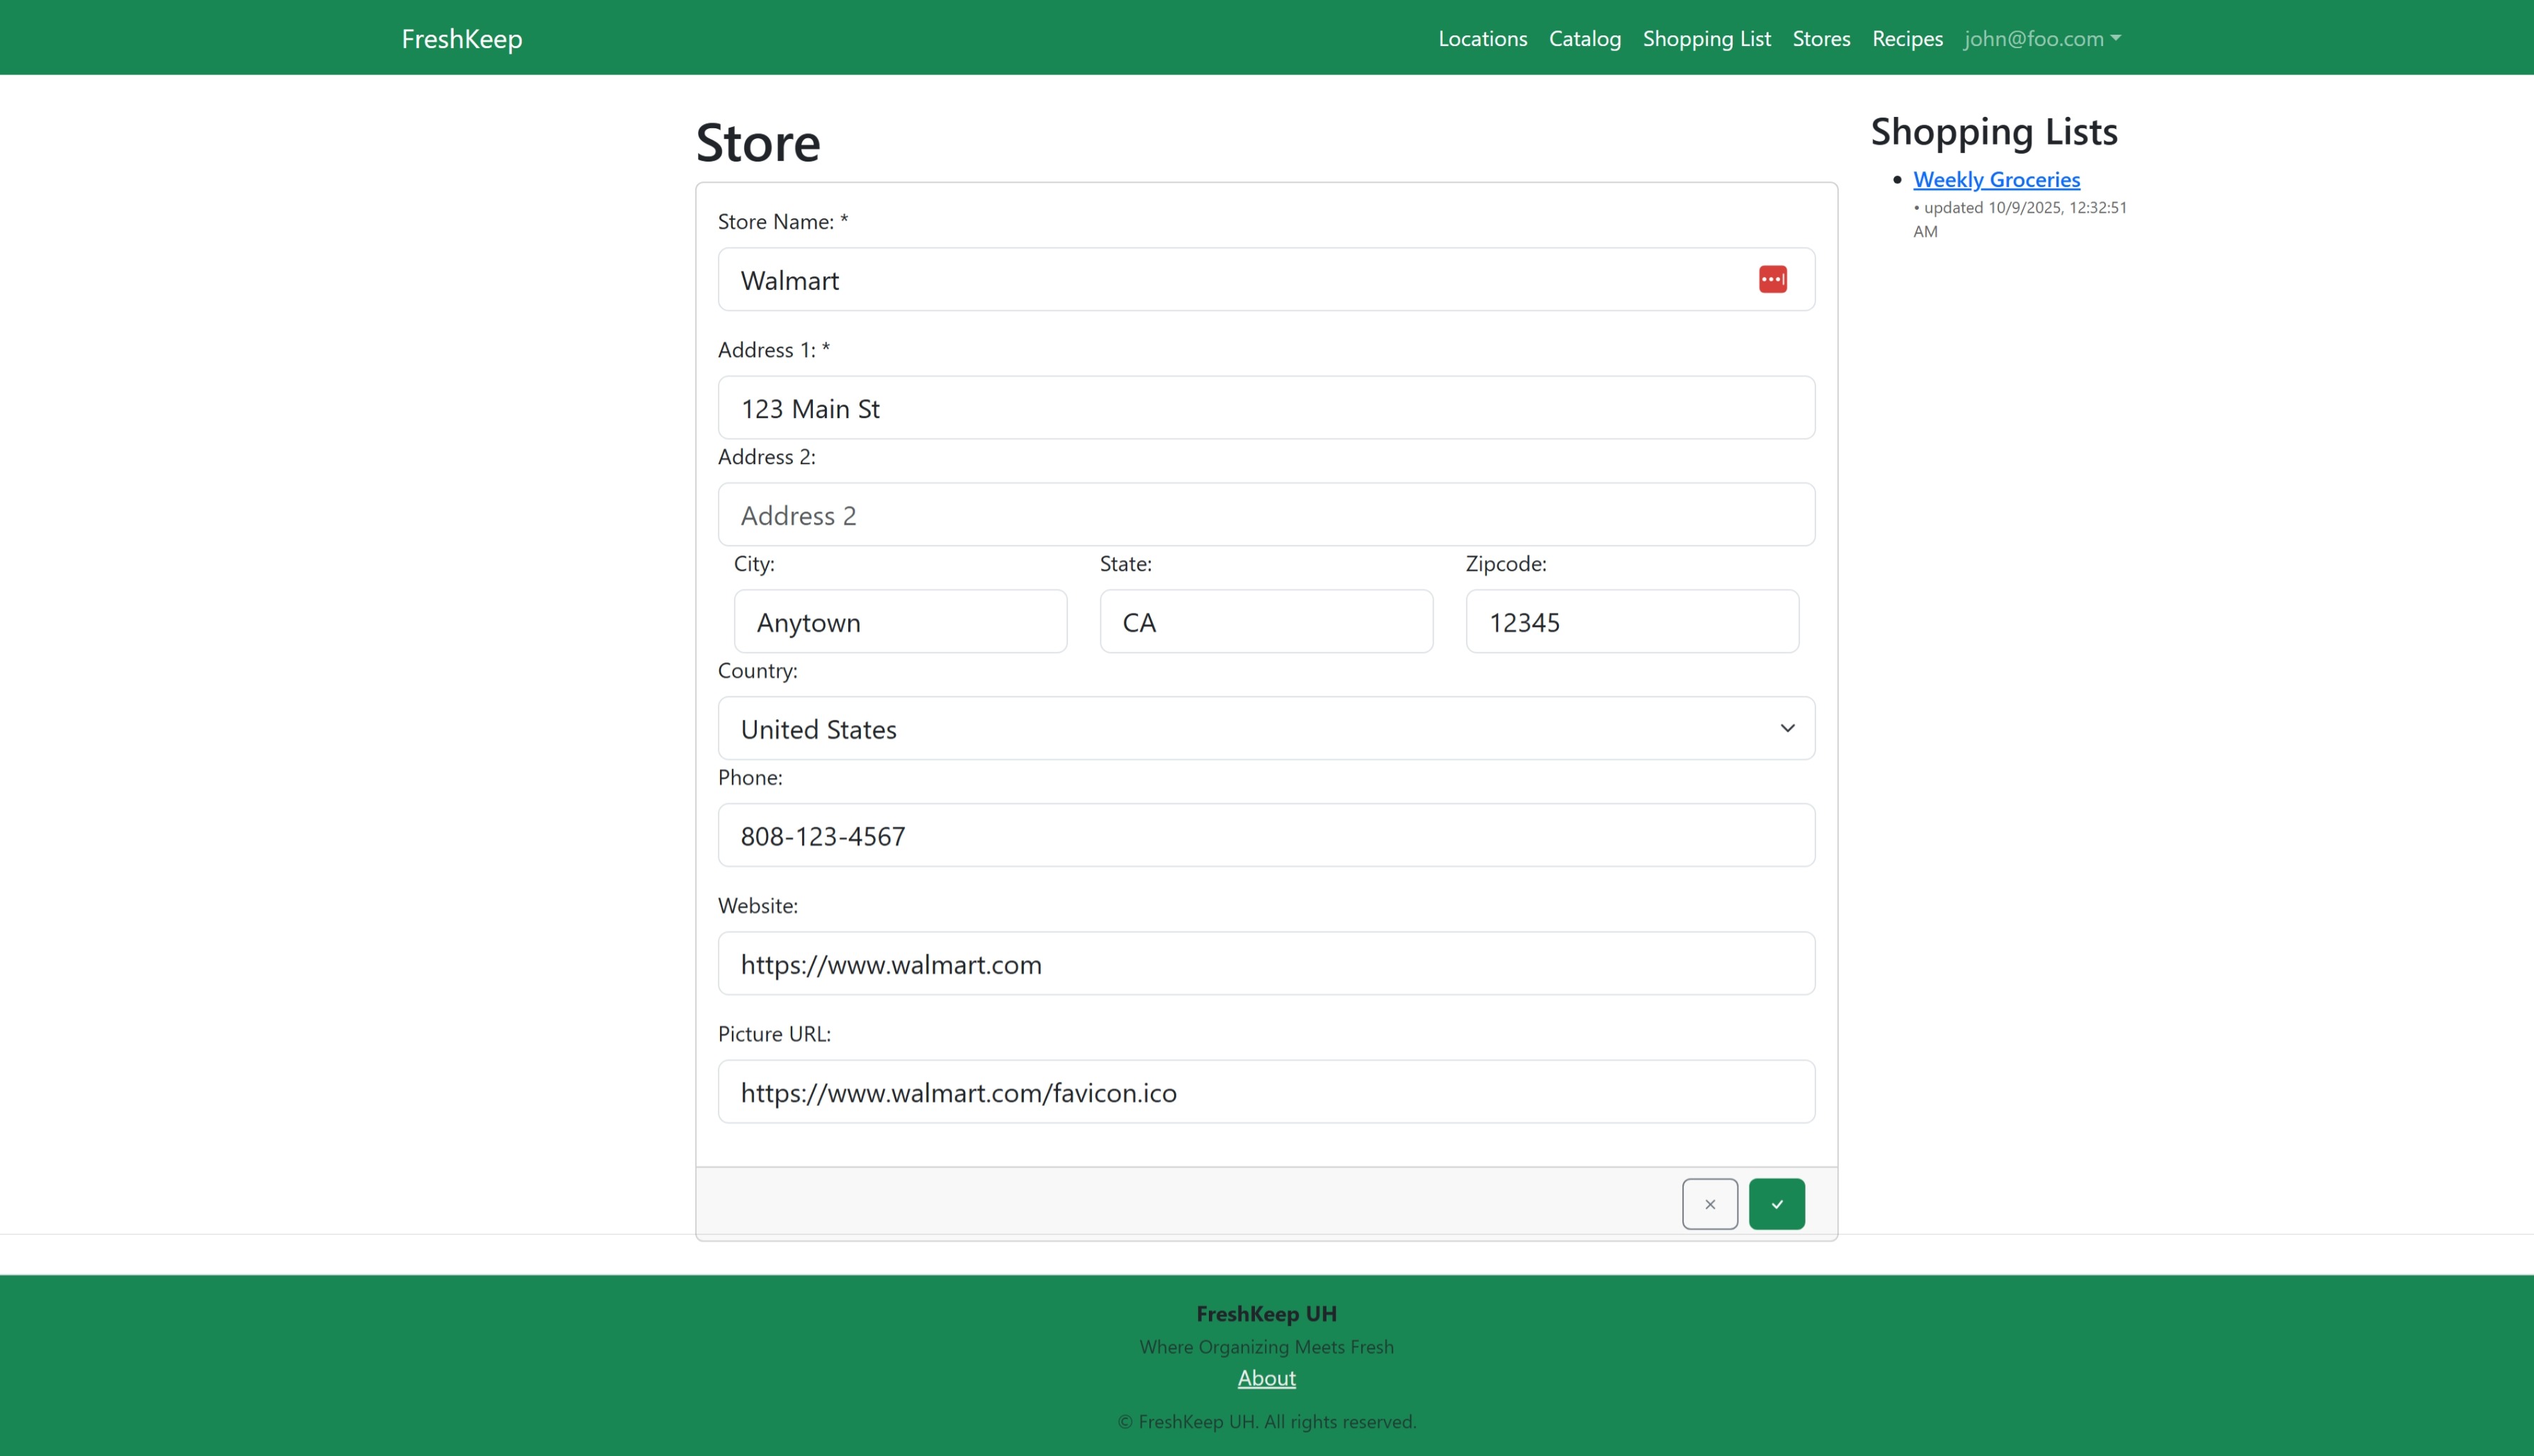 The Add/Edit mode of the Store page allows you to edit the name, address, etc.
Fields
- Name: Enter the name of the store, required, must be unique.
- Address 1: Enter the street address of the store, required.
- Address 2: Enter the secondary address of the store such as a Suite number, optional.
- City: Enter the City in which the store is located, required.
- State: Enter the State or Provence in which the store is located, required.
- ZIP Code: Enter the ZIP or Postal Code in which the store is located, required.
- Country: Select the Country in which the store is located, required.
- Phone: Enter the Phone number of the store, optional.
- Website: Enter the Website URL for the store, optional.
- Picture: Upload an image to be used as the Store logo from a website URL or your computer.
Buttons
- Cancel: The X icon will cancel your changes, and return you to View mode.
- Save: The Check icon will save your changes, and return you to View mode.
Links
- Shopping List Name: Go to the Shopping List page, where you can see and edit the Shopping List information, and view the Products associated with that List. Clicking these links while in edit mode will cancel your changes.
- Product Name: Go to the Product page, where you can see and edit the Product information, and view the Instances associated with that Product. Clicking these links while in edit mode will cancel your changes.
Settings
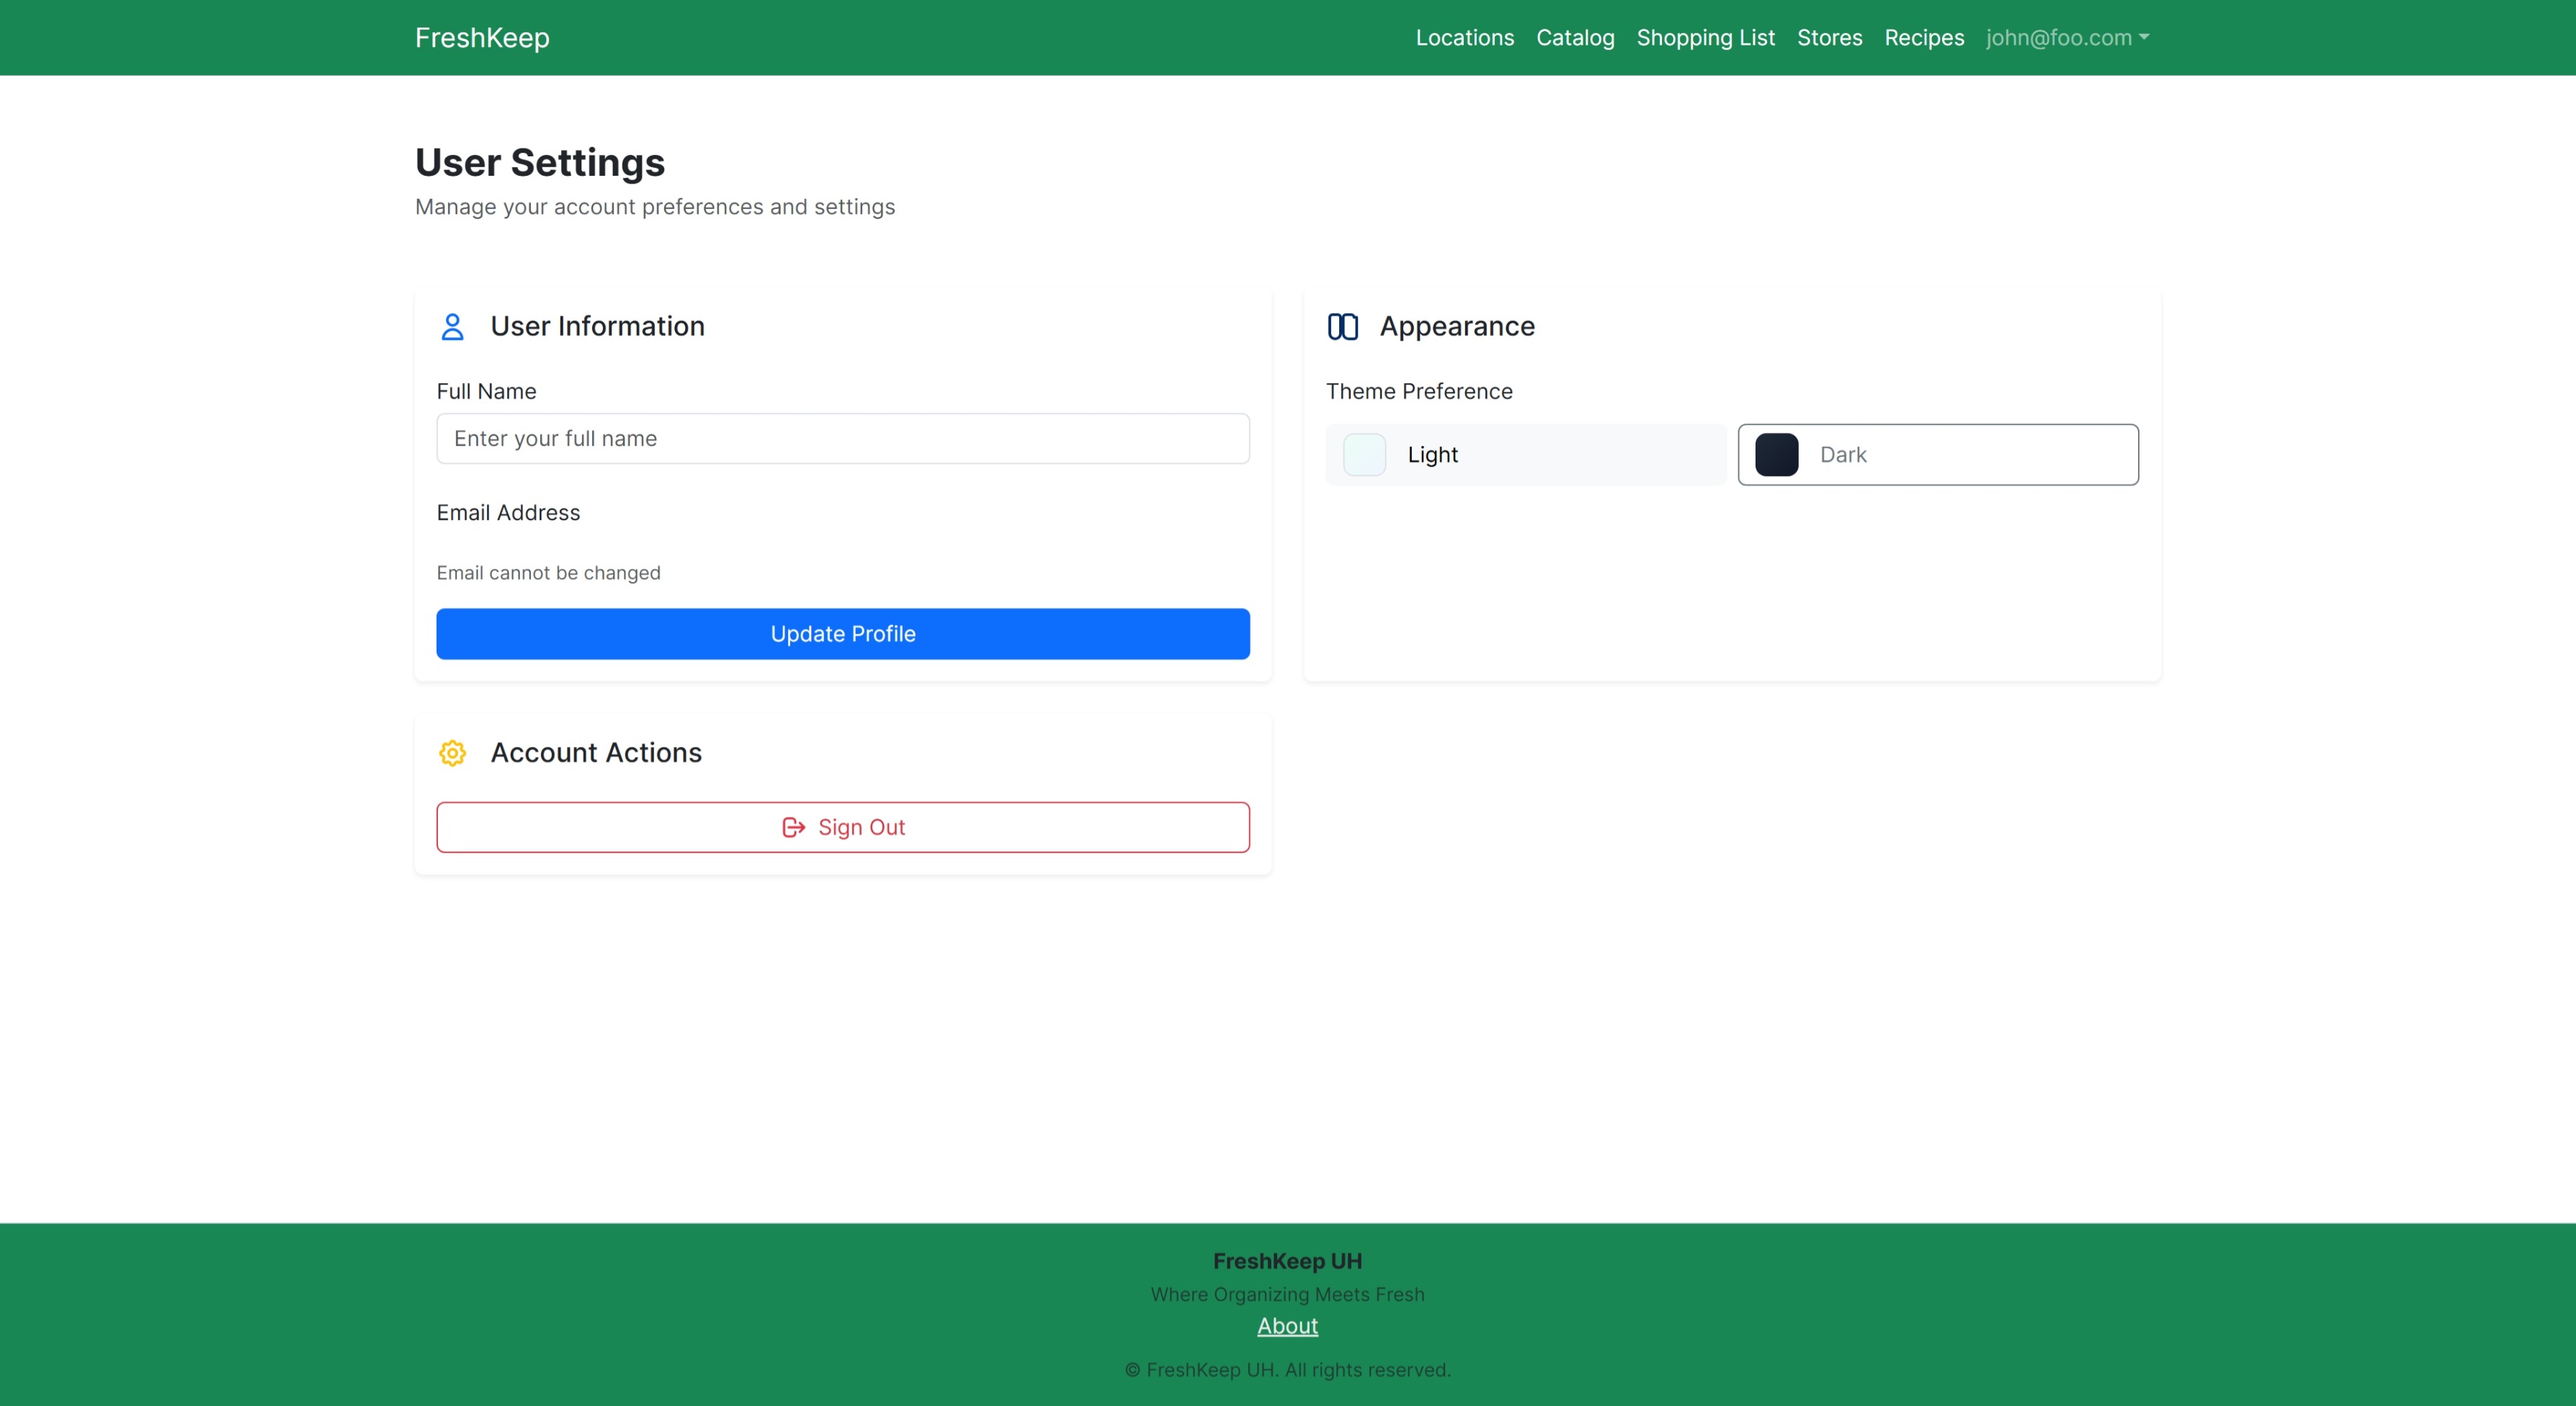 The settings page allows you to customize your avatar, set your first and last name, update your email address, and select the light or dark theme. You can also set the threshold for expiring soon in days, which defaults to three (3).
Users
TBD
User
TBD
User Add/Edit Mode
TBD
Reports
Inventory
 Shows all items in inventory sorted and grouped by location, storage area, and product name.
Clicking on a location, storage area, or product will take you to the associated page.
Shows all items in inventory sorted and grouped by location, storage area, and product name.
Clicking on a location, storage area, or product will take you to the associated page.
Filter Options
- Location: Select a location.
- Storage Type: Select a Storage Type.
- Storage Area: Select a Storage Area.
- Product: Select a Product.
Columns
- Location: The location in which the Product that is needed is stored.
- Storage Area: The storage area in which the Product that is needed is stored.
- Product: The Product that is expiring soon.
- Quantity: The quantity of the Product that is expiring soon.
- Unit of Measure: The unit of measure for the quantity of the Product that is expiring soon.
</div>
Expired
 Shows all items in inventory that are expired sorted and grouped by location, storage area, product name, and expiration date.
Clicking on a location, storage area, or product will take you to the associated page.
Shows all items in inventory that are expired sorted and grouped by location, storage area, product name, and expiration date.
Clicking on a location, storage area, or product will take you to the associated page.
Filter Options
- Location: Select a location.
- Storage Type: Select a Storage Type.
- Storage Area: Select a Storage Area.
- Product: Select a Product.
Columns
- Location: The location in which the Product that is needed is stored.
- Storage Area: The storage area in which the Product that is needed is stored.
- Product: The Product that is expiring soon.
- Expiration Date: The expiration date of the Product that is expiring soon.
- Quantity: The quantity of the Product that is expiring soon.
- Unit of Measure: The unit of measure for the quantity of the Product that is expiring soon.
</div>
Expiring
 Shows all items in inventory that are expiring soon sorted and grouped by location, storage area, product name, and expiration date.
Clicking on a location, storage area, or product will take you to the associated page.
Shows all items in inventory that are expiring soon sorted and grouped by location, storage area, product name, and expiration date.
Clicking on a location, storage area, or product will take you to the associated page.
Filter Options
- Location: Select a location.
- Storage Type: Select a Storage Type.
- Storage Area: Select a Storage Area.
- Product: Select a Product.
- Threshold: The number of days use when calculating if an item is expiring soon. Defaults to the value given on the Settings page.
Columns
- Location: The location in which the Product that is needed is stored.
- Storage Area: The storage area in which the Product that is needed is stored.
- Product: The Product that is expiring soon.
- Expiration Date: The expiration date of the Product that is expiring soon.
- Quantity: The quantity of the Product that is expiring soon.
- Unit of Measure: The unit of measure for the quantity of the Product that is expiring soon.
Restock
 Shows all products that are marked as 'Needed' sorted and grouped by location, storage area, and product name.
Clicking on a location, storage area, or product will take you to the associated page.
Shows all products that are marked as 'Needed' sorted and grouped by location, storage area, and product name.
Clicking on a location, storage area, or product will take you to the associated page.
Filter Options
- Location: Select a location.
- Storage Type: Select a Storage Type.
- Storage Area: Select a Storage Area.
- Product: Select a Product.
Columns
- Location: The location in which the Product that is needed is stored.
- Storage Area: The storage area in which the Product that is needed is stored.
- Product: The Product that is needed.
- Quantity: The quantity of the Product currently on hand.
- Unit of Measure: The unit of measure for the quantity of the Product currently on hand.